Staying Riding Fit With An Injured Ankle
Staying riding fit with an injured ankle can be challenging, but it doesn’t have to be. Try these 13 exercises out and keep your strength and fitness up while you recover.
If you’re reading this, you probably have an injured ankle, and you’re looking to stay riding fit while you recover from your injury. I’ve got you covered!
Injuries are frustrating, and while you won’t be able to do what you used to do before your injury, maintaining a sense of routine and purpose is important to help you feel good physically and mentally.
Often what happens when we hurt ourselves is we shift from being really active and riding regularly to suddenly extremely sedentary, inactive and in many cases, inability to continue to ride. The recovery process is unique to everyone, and it’s important not to push yourself and let your body build its energy back up naturally.
Also, it goes without saying, but I will say it anyway: follow your doctor or physical therapist’s instructions and only do these exercises if they give you the green light first. And if you experience any pain or discomfort, stop immediately!
With that out of the way, let’s get started!
Motion is lotion
Our body loves motion and loves to move. So while you let your ankle heal, getting the rest of the body moving and staying active will help you feel good and give you a sense of routine and purpose.
This doesn’t mean you will do crazy exercises; think of it more as stimulating blood flow to help you energise your body, aid recover and feel good about yourself.
Keeping a routine in your life that puts some time aside for exercise. Not just for the physical benefits, but the mental ones too, while you heal.
Now, these exercises are all designed to keep off your injured foot. Ask your physio/doctor for the exercises for your injured ankle when that time comes. In the meantime, stay off it, let it heal and use these movements here to engage the rest of the body.
13 Exercises While You Are Injured
You can do these exercises separately throughout your day or string them together into a routine to do 3-4 times per week. If you wanted to do them daily, you could, too, do what feels best for you while you let your body do its recovery.
Horse stance leg lifts
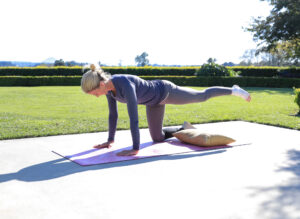
Set yourself up on all fours, with even weight through your hands and knees, and allow your injured foot to rest on a pillow if needed. Brace through your middle and set up your neutral spine position. From there, keep your spine and back as still as possible while you lift one foot off the ground and back down again. Only lift as high as possible while maintaining a stable back. Lift in a controlled way at about the rate of your breath and then lower again. Repeat 10 times on each side.
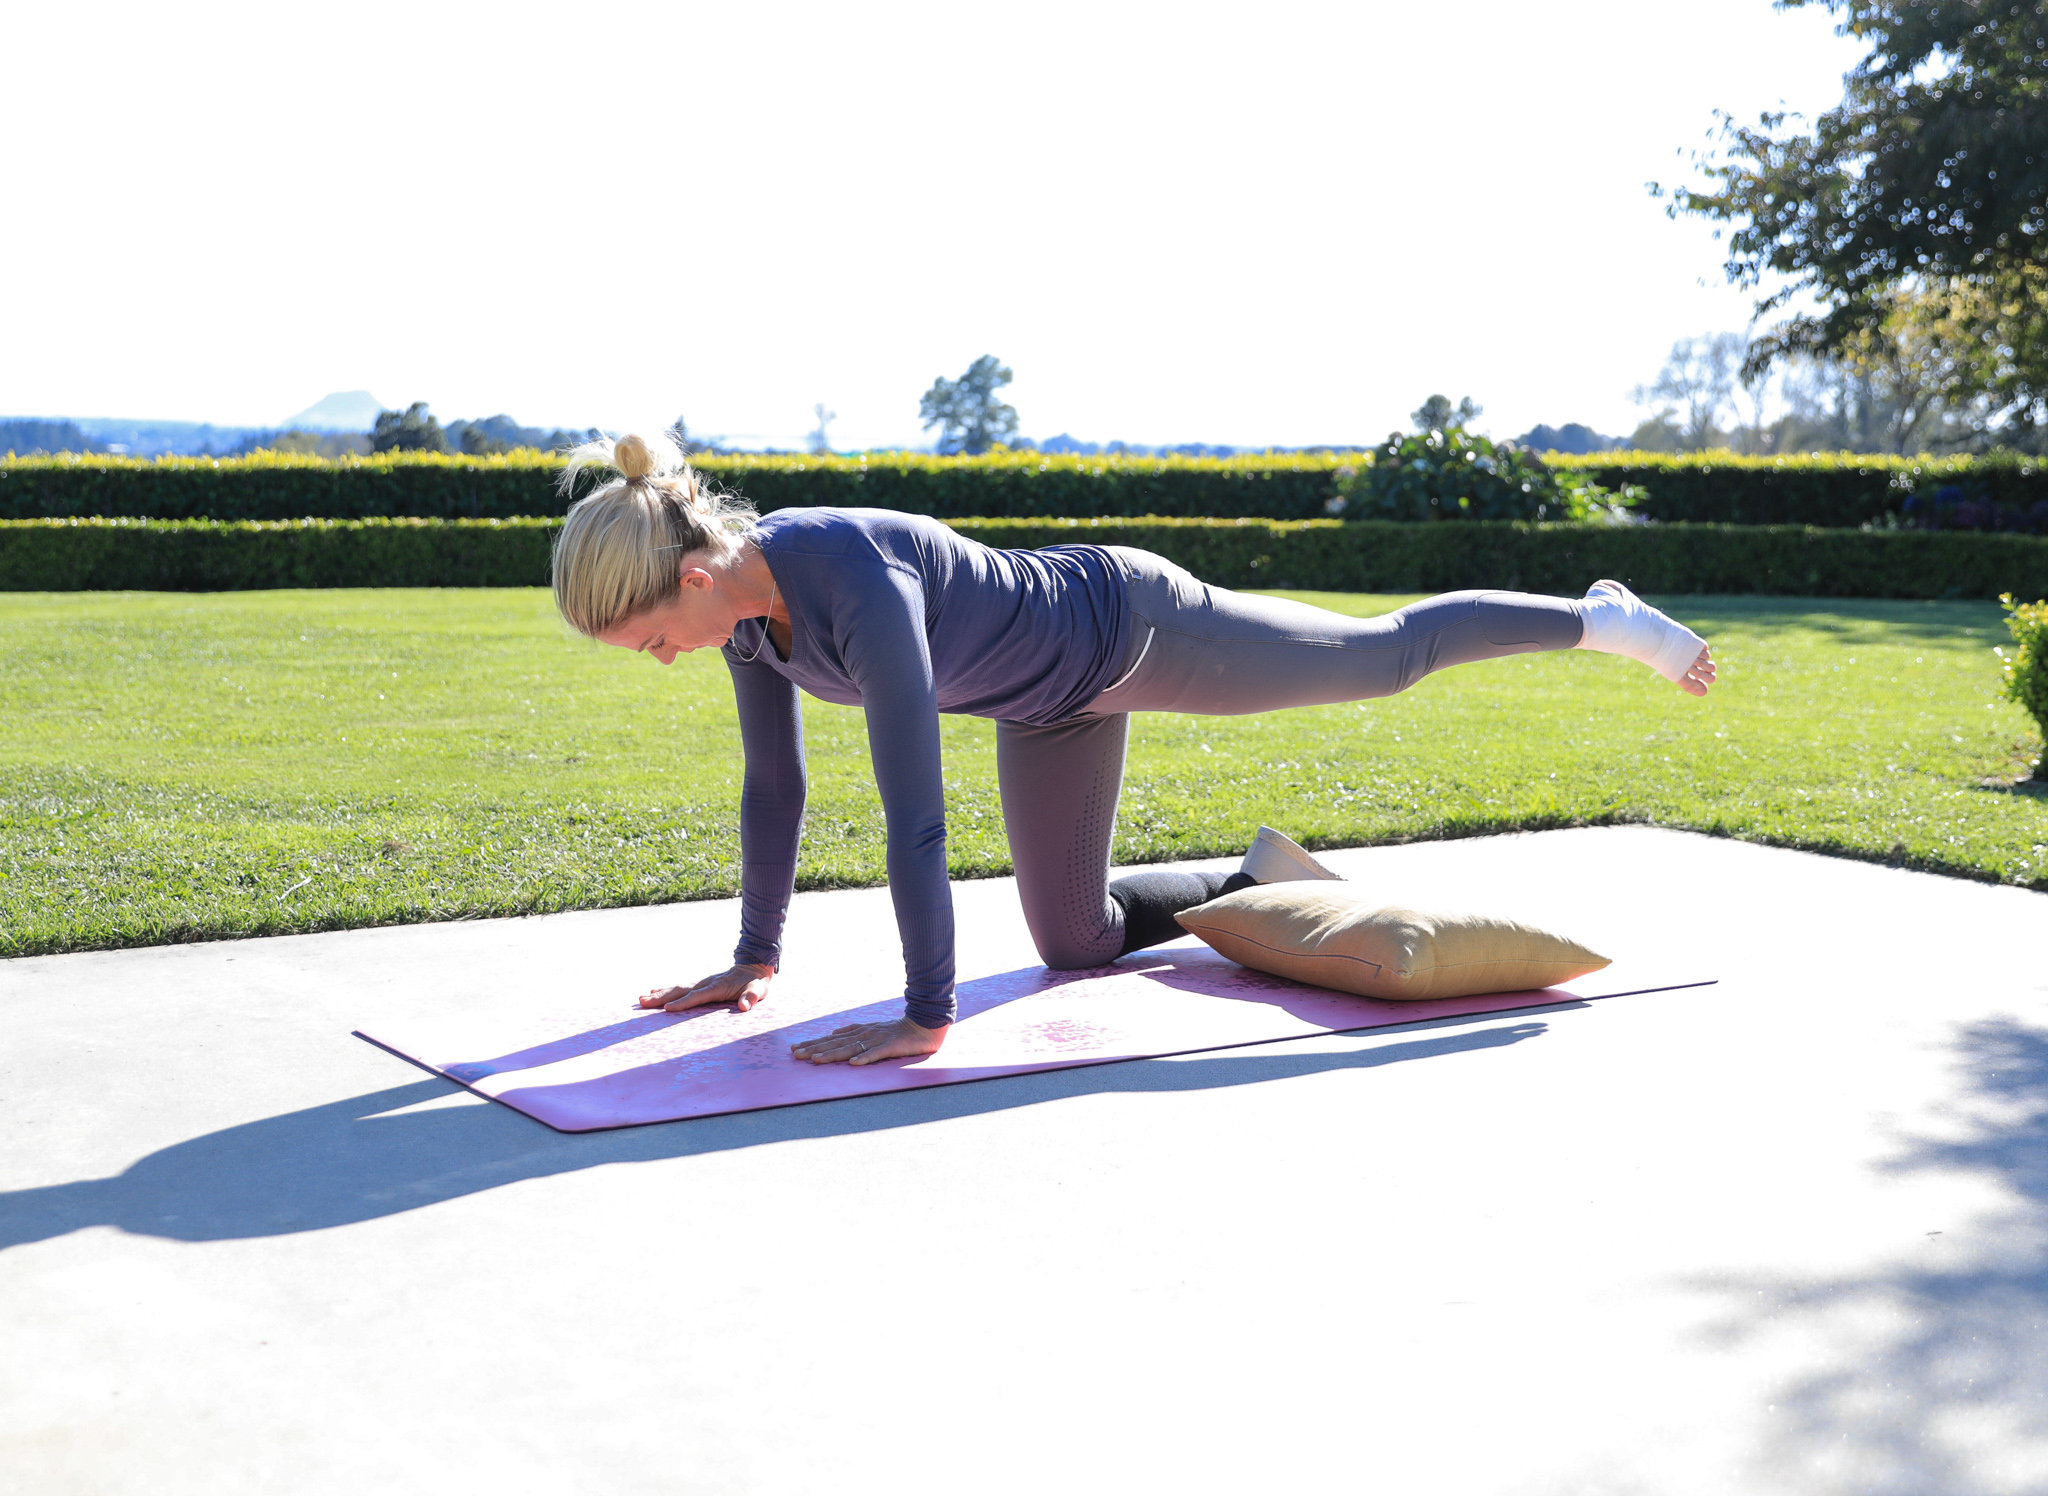
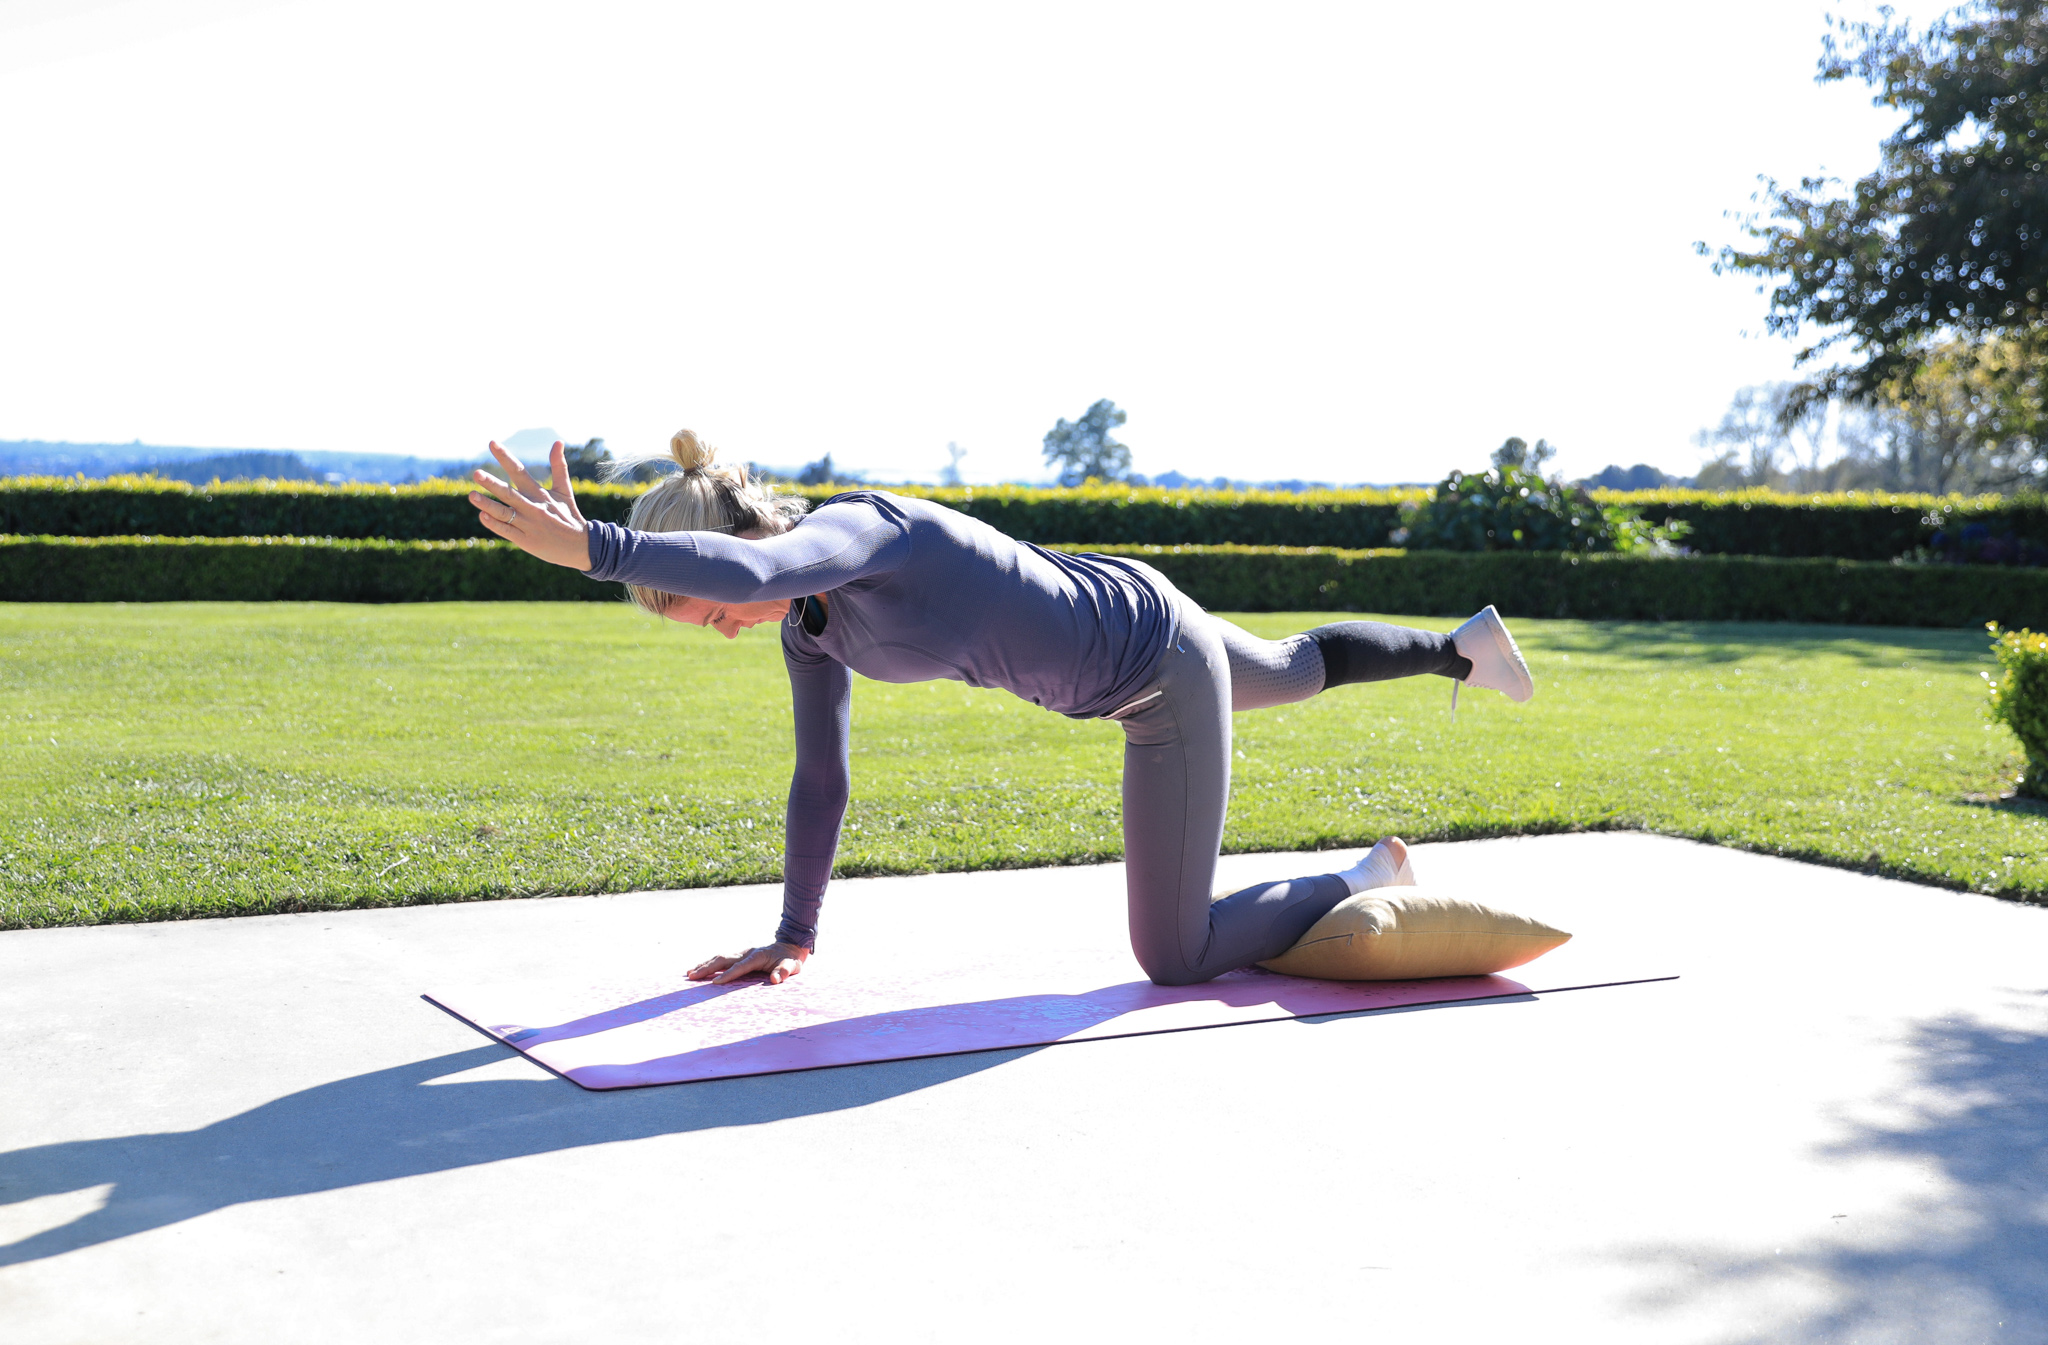
Horse stance pointers
Set up like before, but extend your arm and your opposite leg this time. The key is to keep your neutral spine and back stable and still. Imagine you have a glass of water on your back and are trying not to let it even ripple or move while you lift your leg and hand. Lift in a controlled way at about the rate of your breath and then lower again. Repeat 10 times on each side.
Supermans
Laying down on your tummy with your injured foot resting on the pillow, extend your arms above your head and lift alternating arms to your leg. Engage your neutral spine and keep your core engaged while you lift. You will feel this engage the muscles of your back and help improve your overall posture. Aim to repeat this move 10 times on each side.
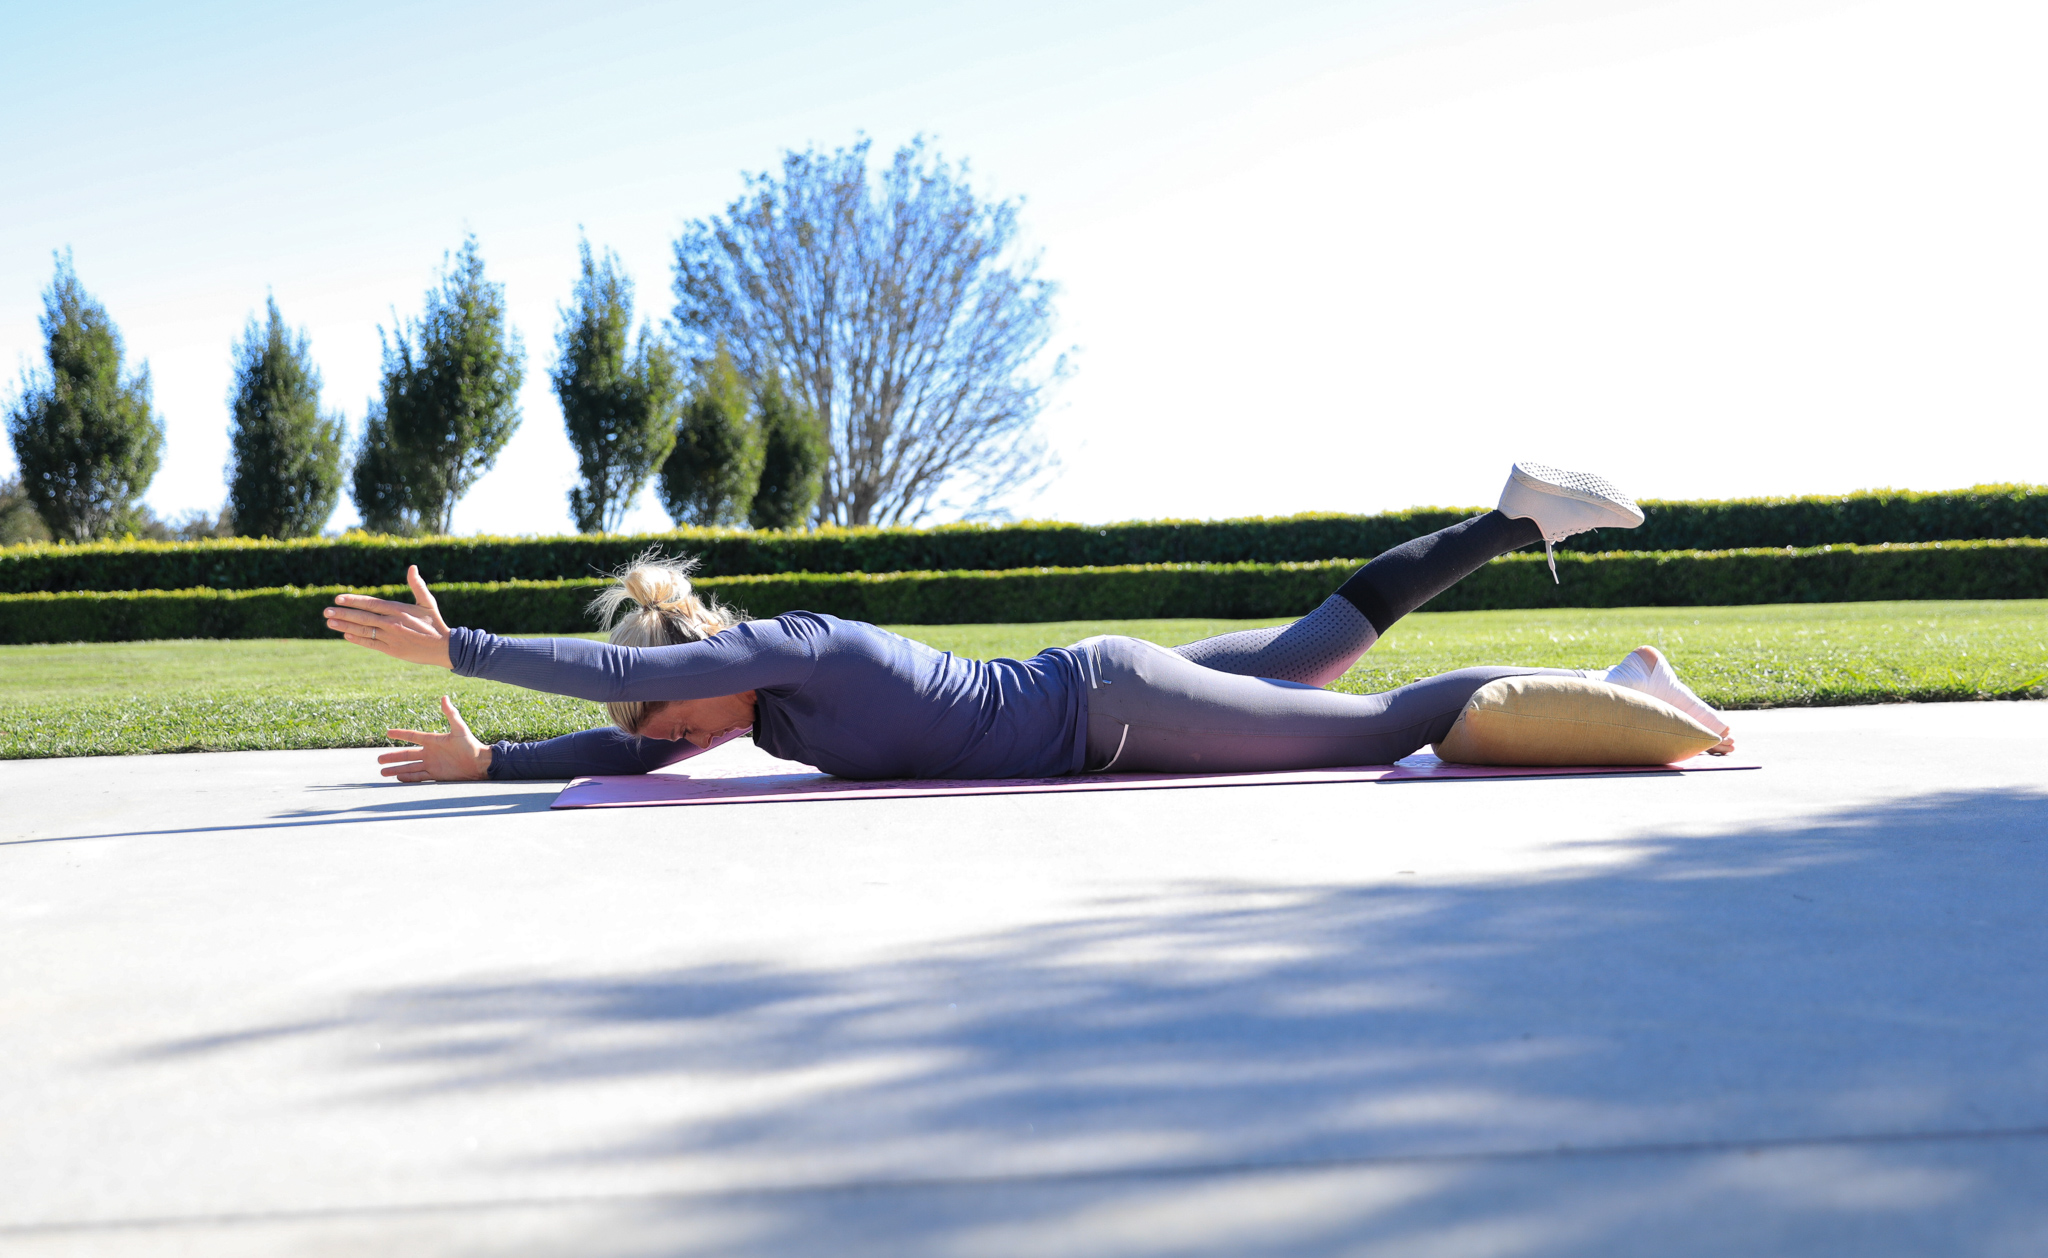
Upper locusts
Laying on your tummy like before, squeeze your bottom and engage your glutes. Then extend both your arms out in front of you and lift them beside your ears. Try lifting and lowering 10 times.
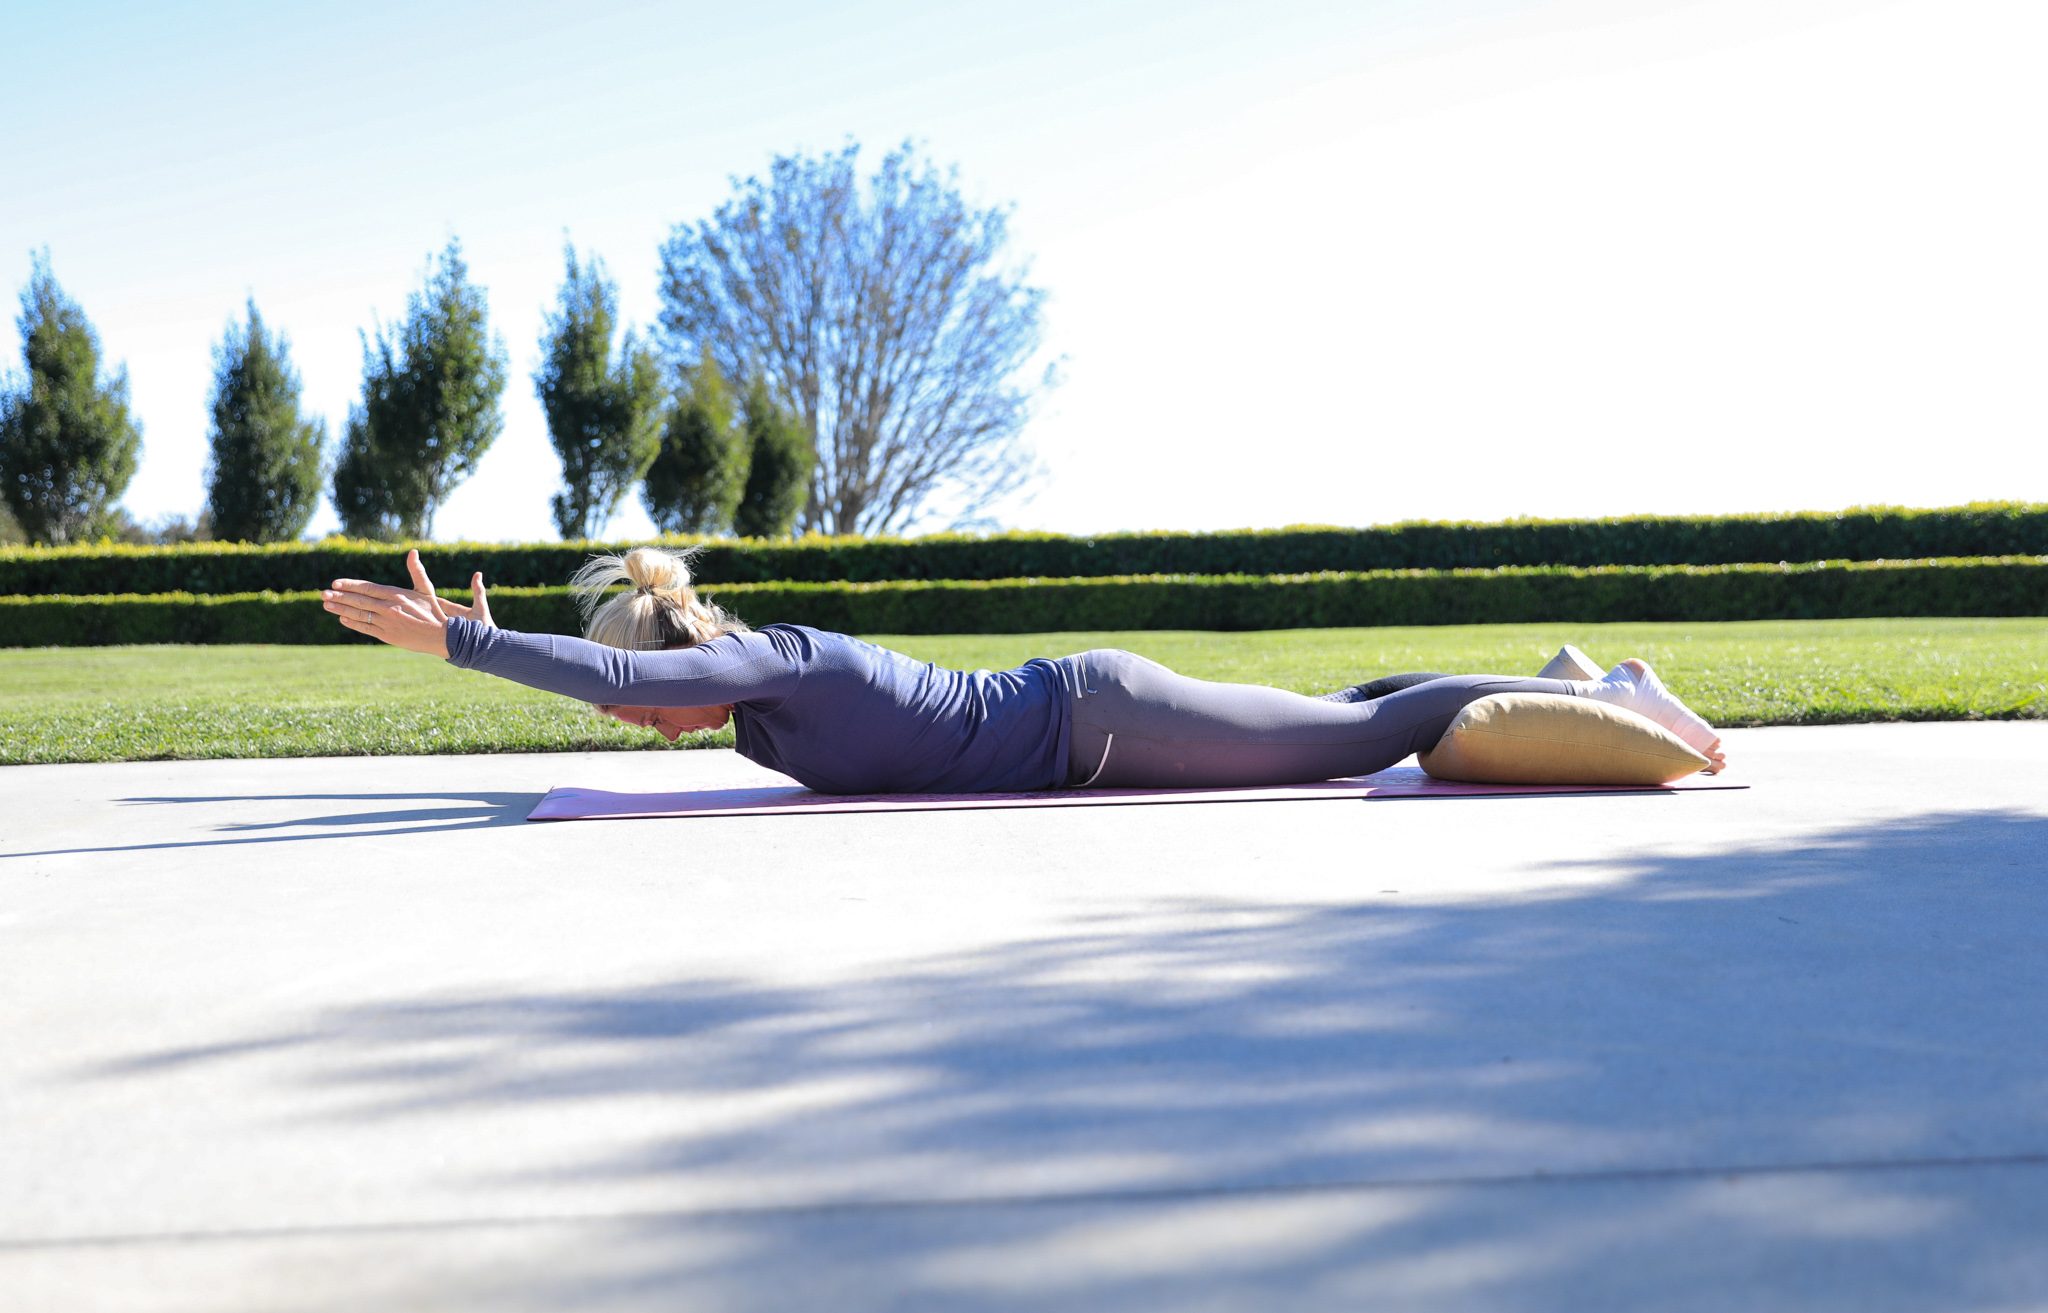
Upper locusts pull
As an extension of the above move, set up like before, but now pull your elbows down towards your sides and straighten your arms again before lowering back down. Then lift and repeat the move. Do this in a nice controlled manner, keeping a neutral spine and engaged glutes. Repeat 10 times.
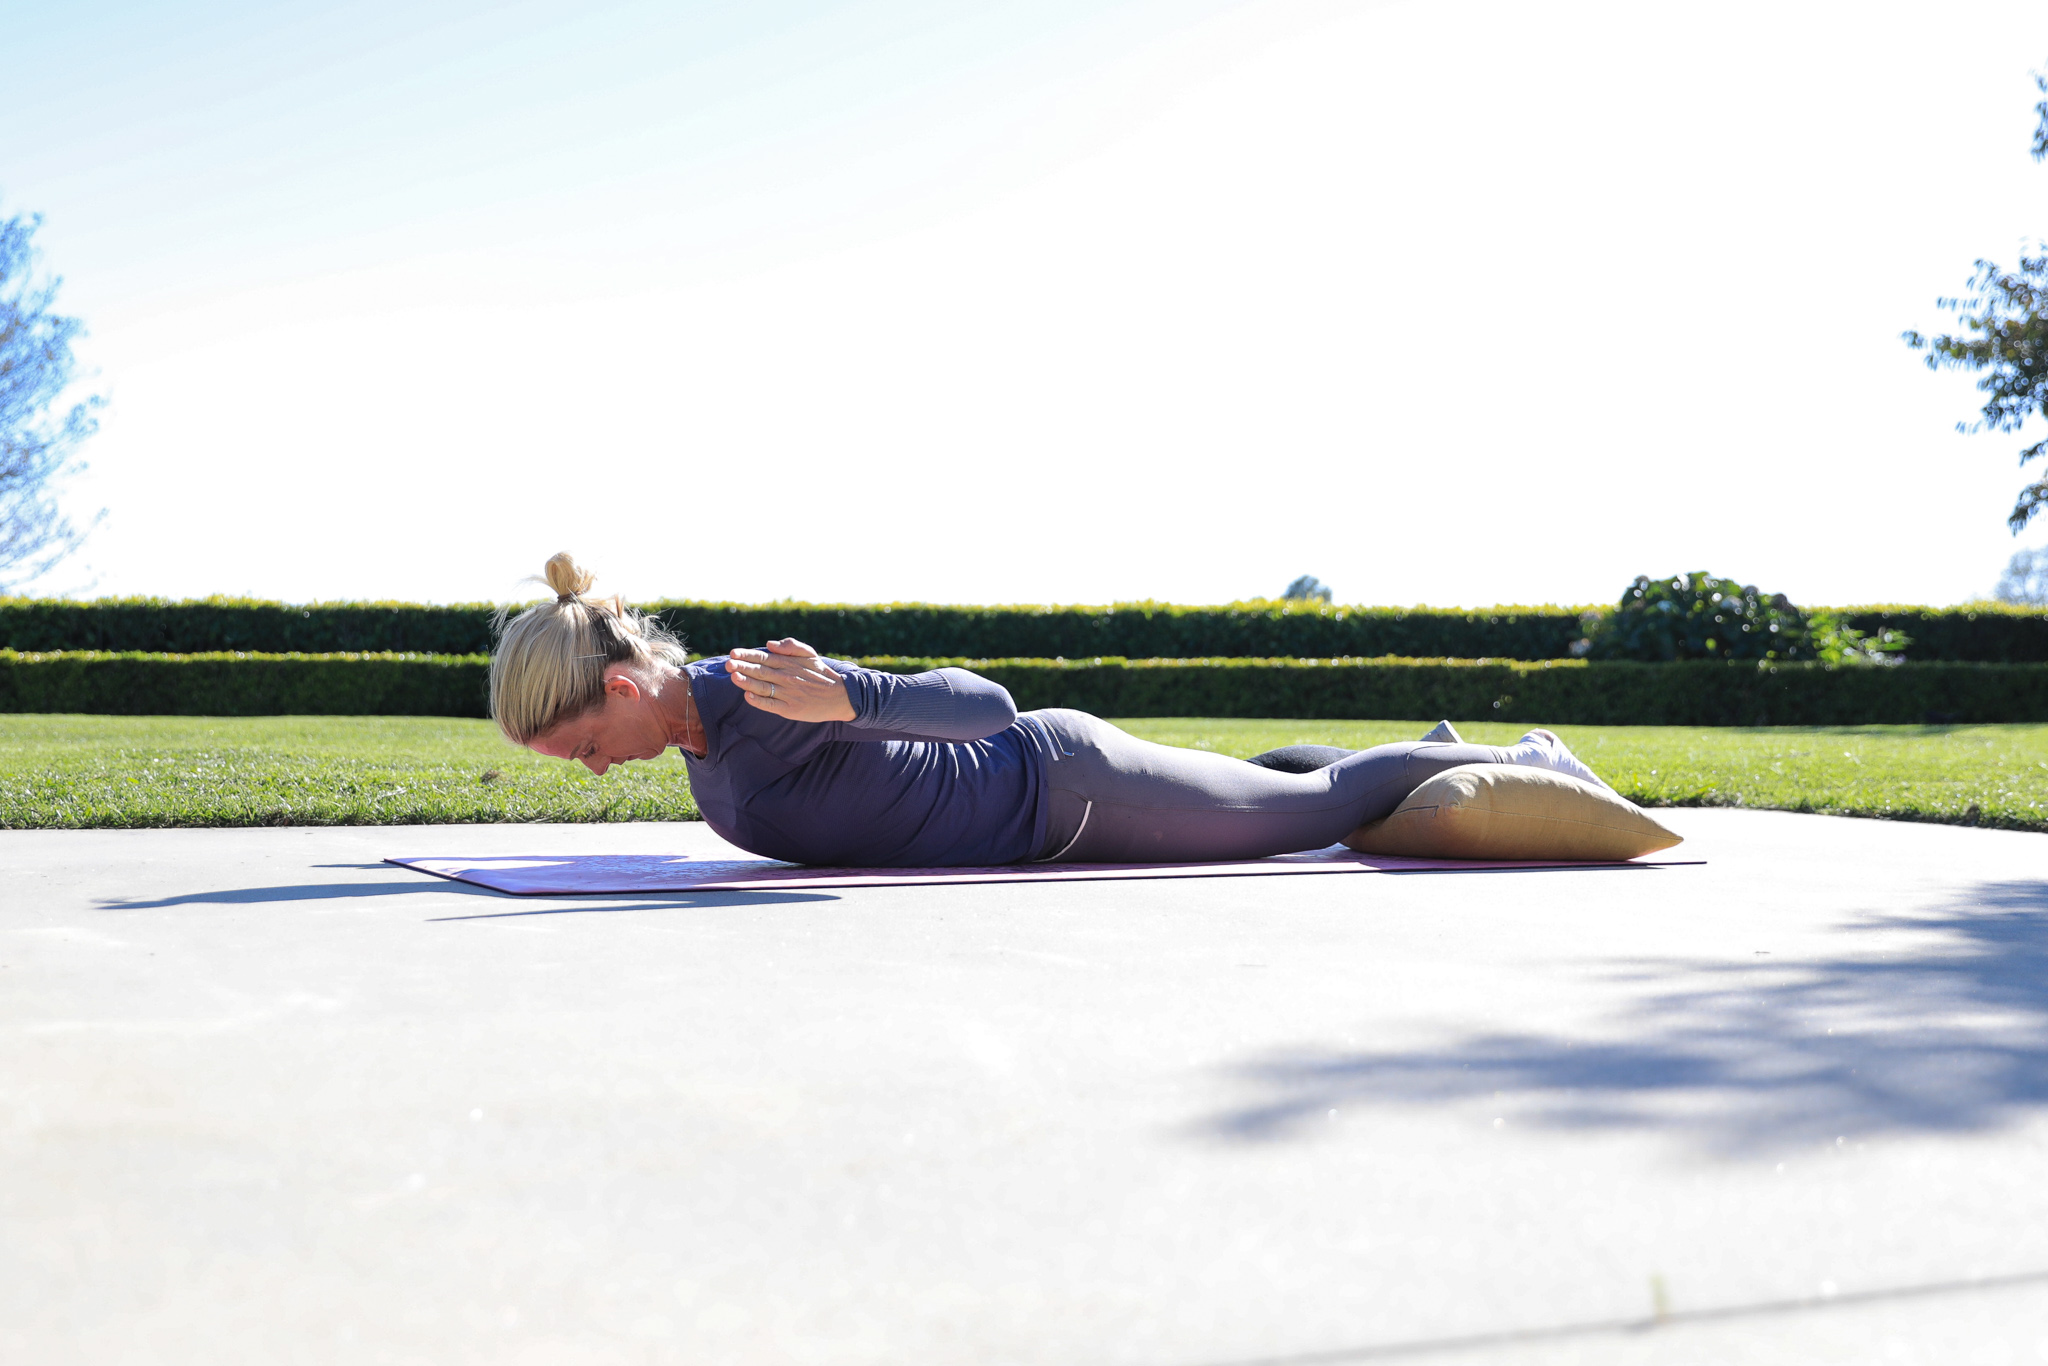
Upper locust T
This time extend your arms out to the side. Keep them wide and lower and lift from here. Try and stretch out through your fingertips and stretch and open across your collar bones. Try rolling your shoulders back and down while you do this to engage your upper back muscles. Repeat 10 times.
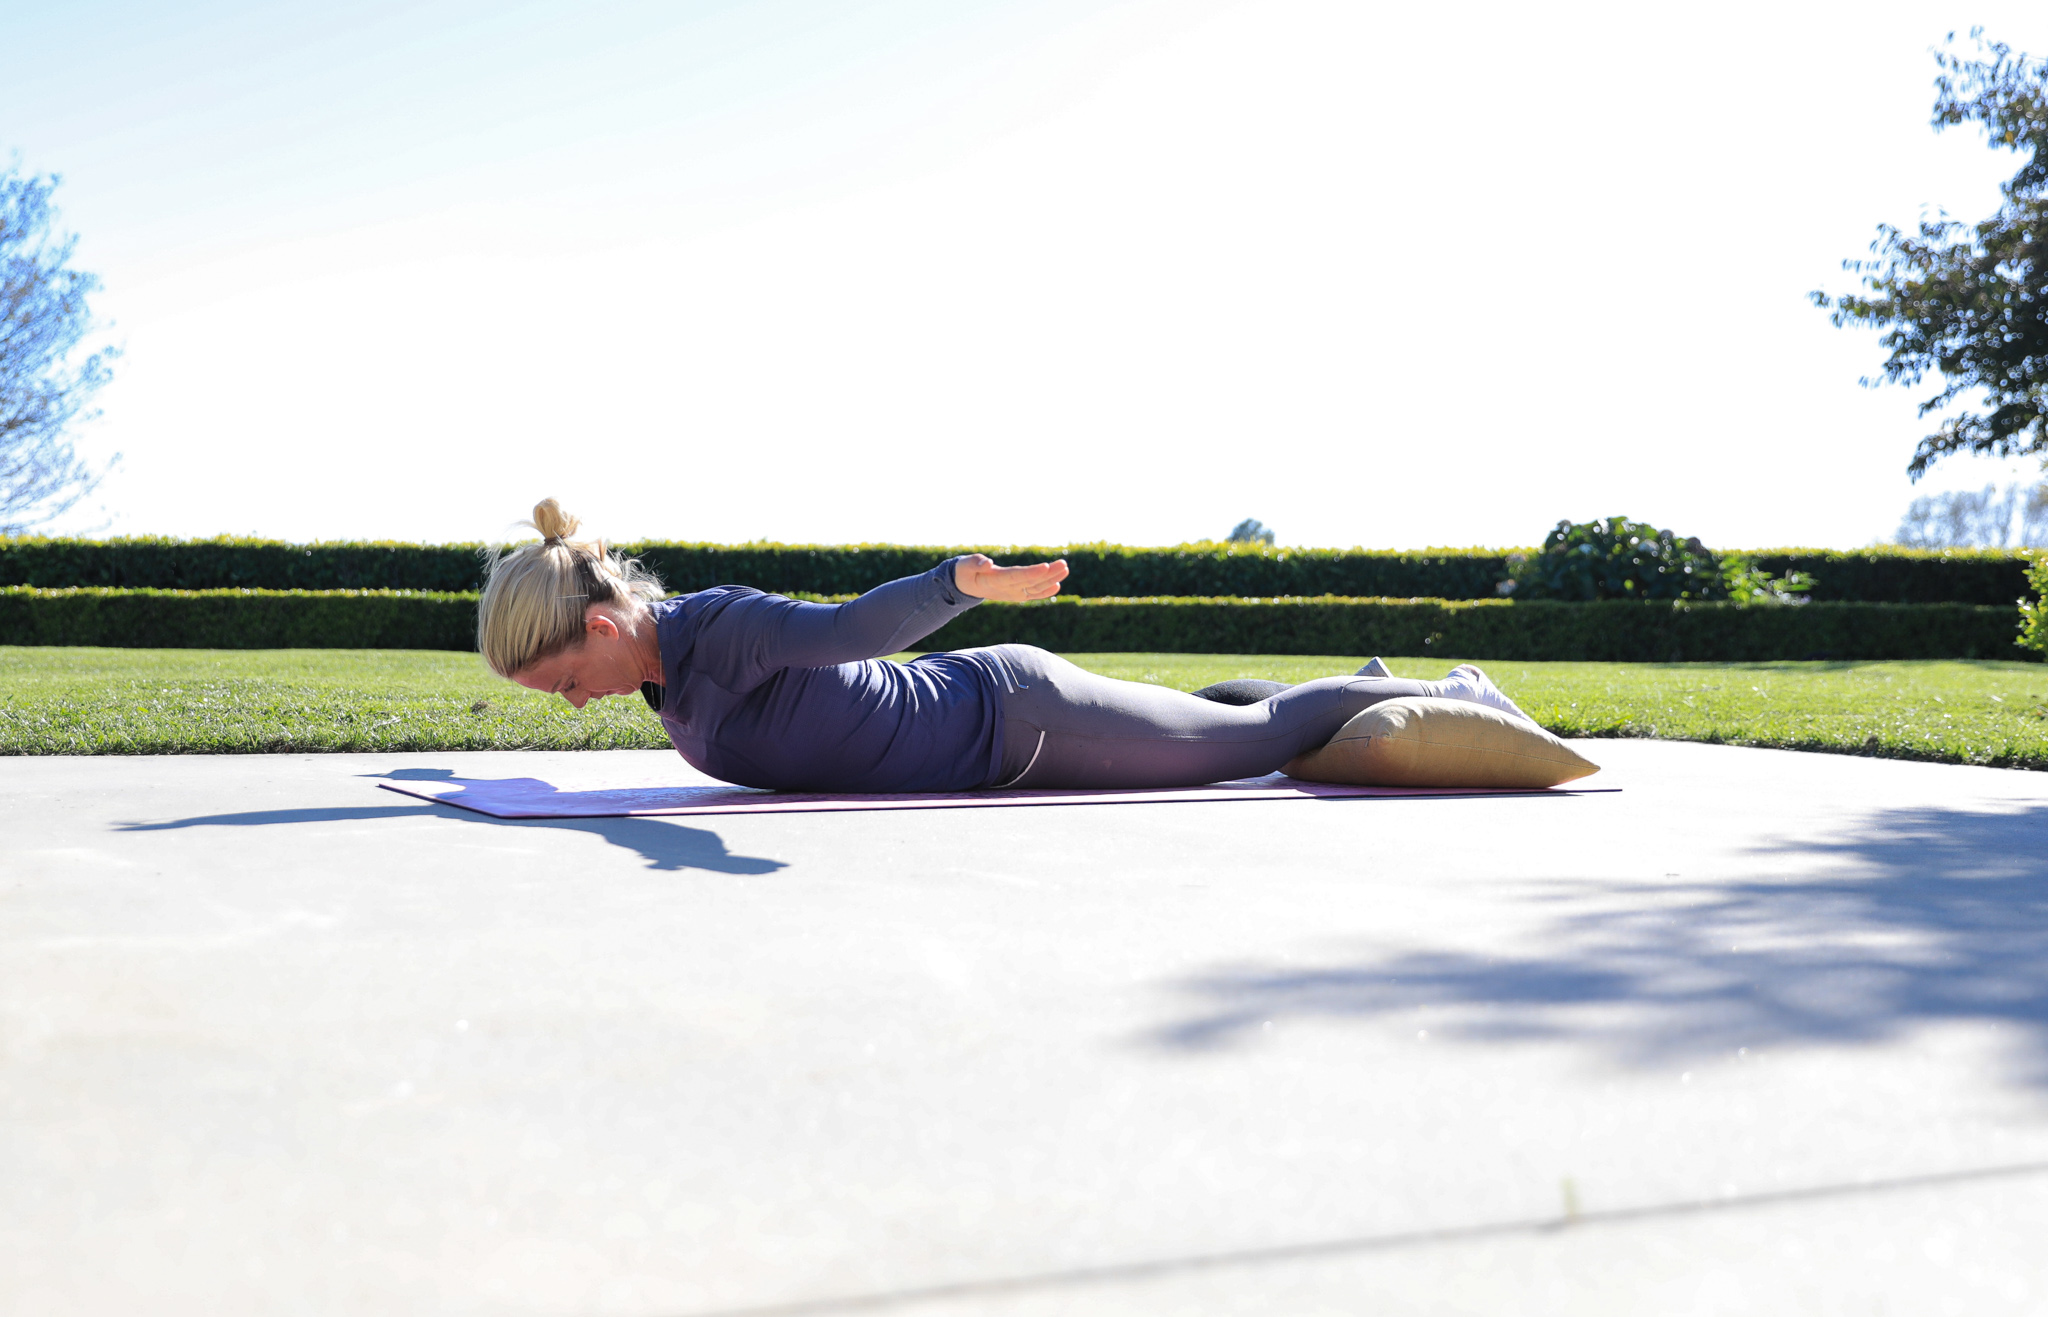
Albatross
Set up like the Upper locust T, but this time rotate when you are lifted and look down towards your fingertips. Keep drawing shoulders down and back while you do this, and engage your glutes to support the lower back. Repeat 10 times on each side.
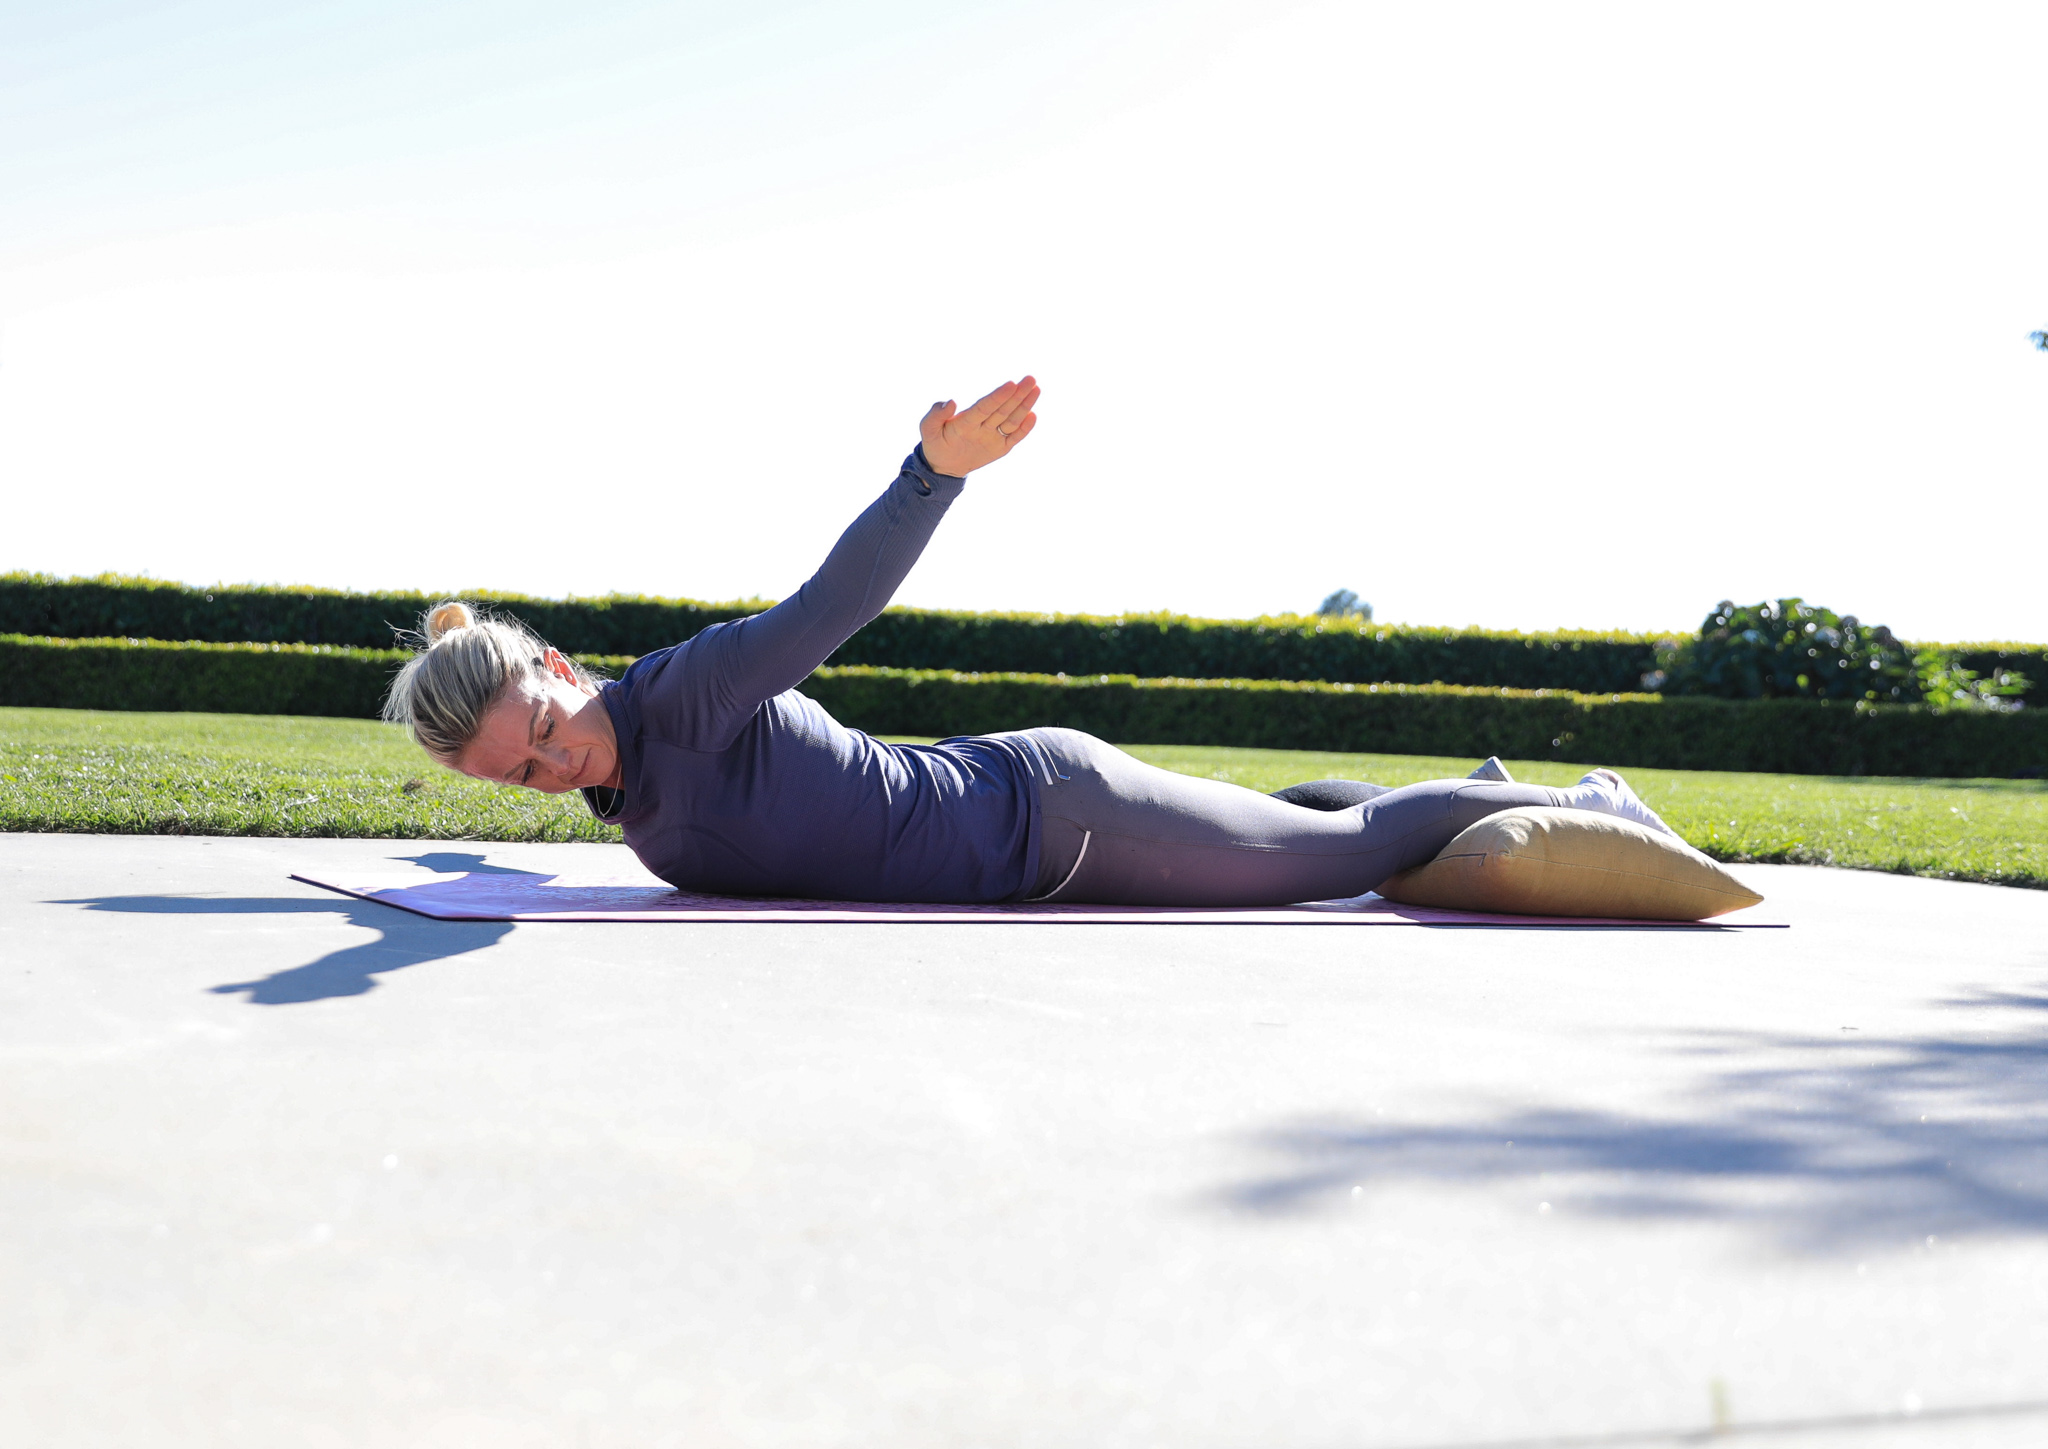
Press-ups
Keep that upper body strength! Place your hands under your shoulders, elbows by your sides, lower your chest to the ground, and push up again. You can bring your knees in closer to your chest if you need to. See how many you can do!
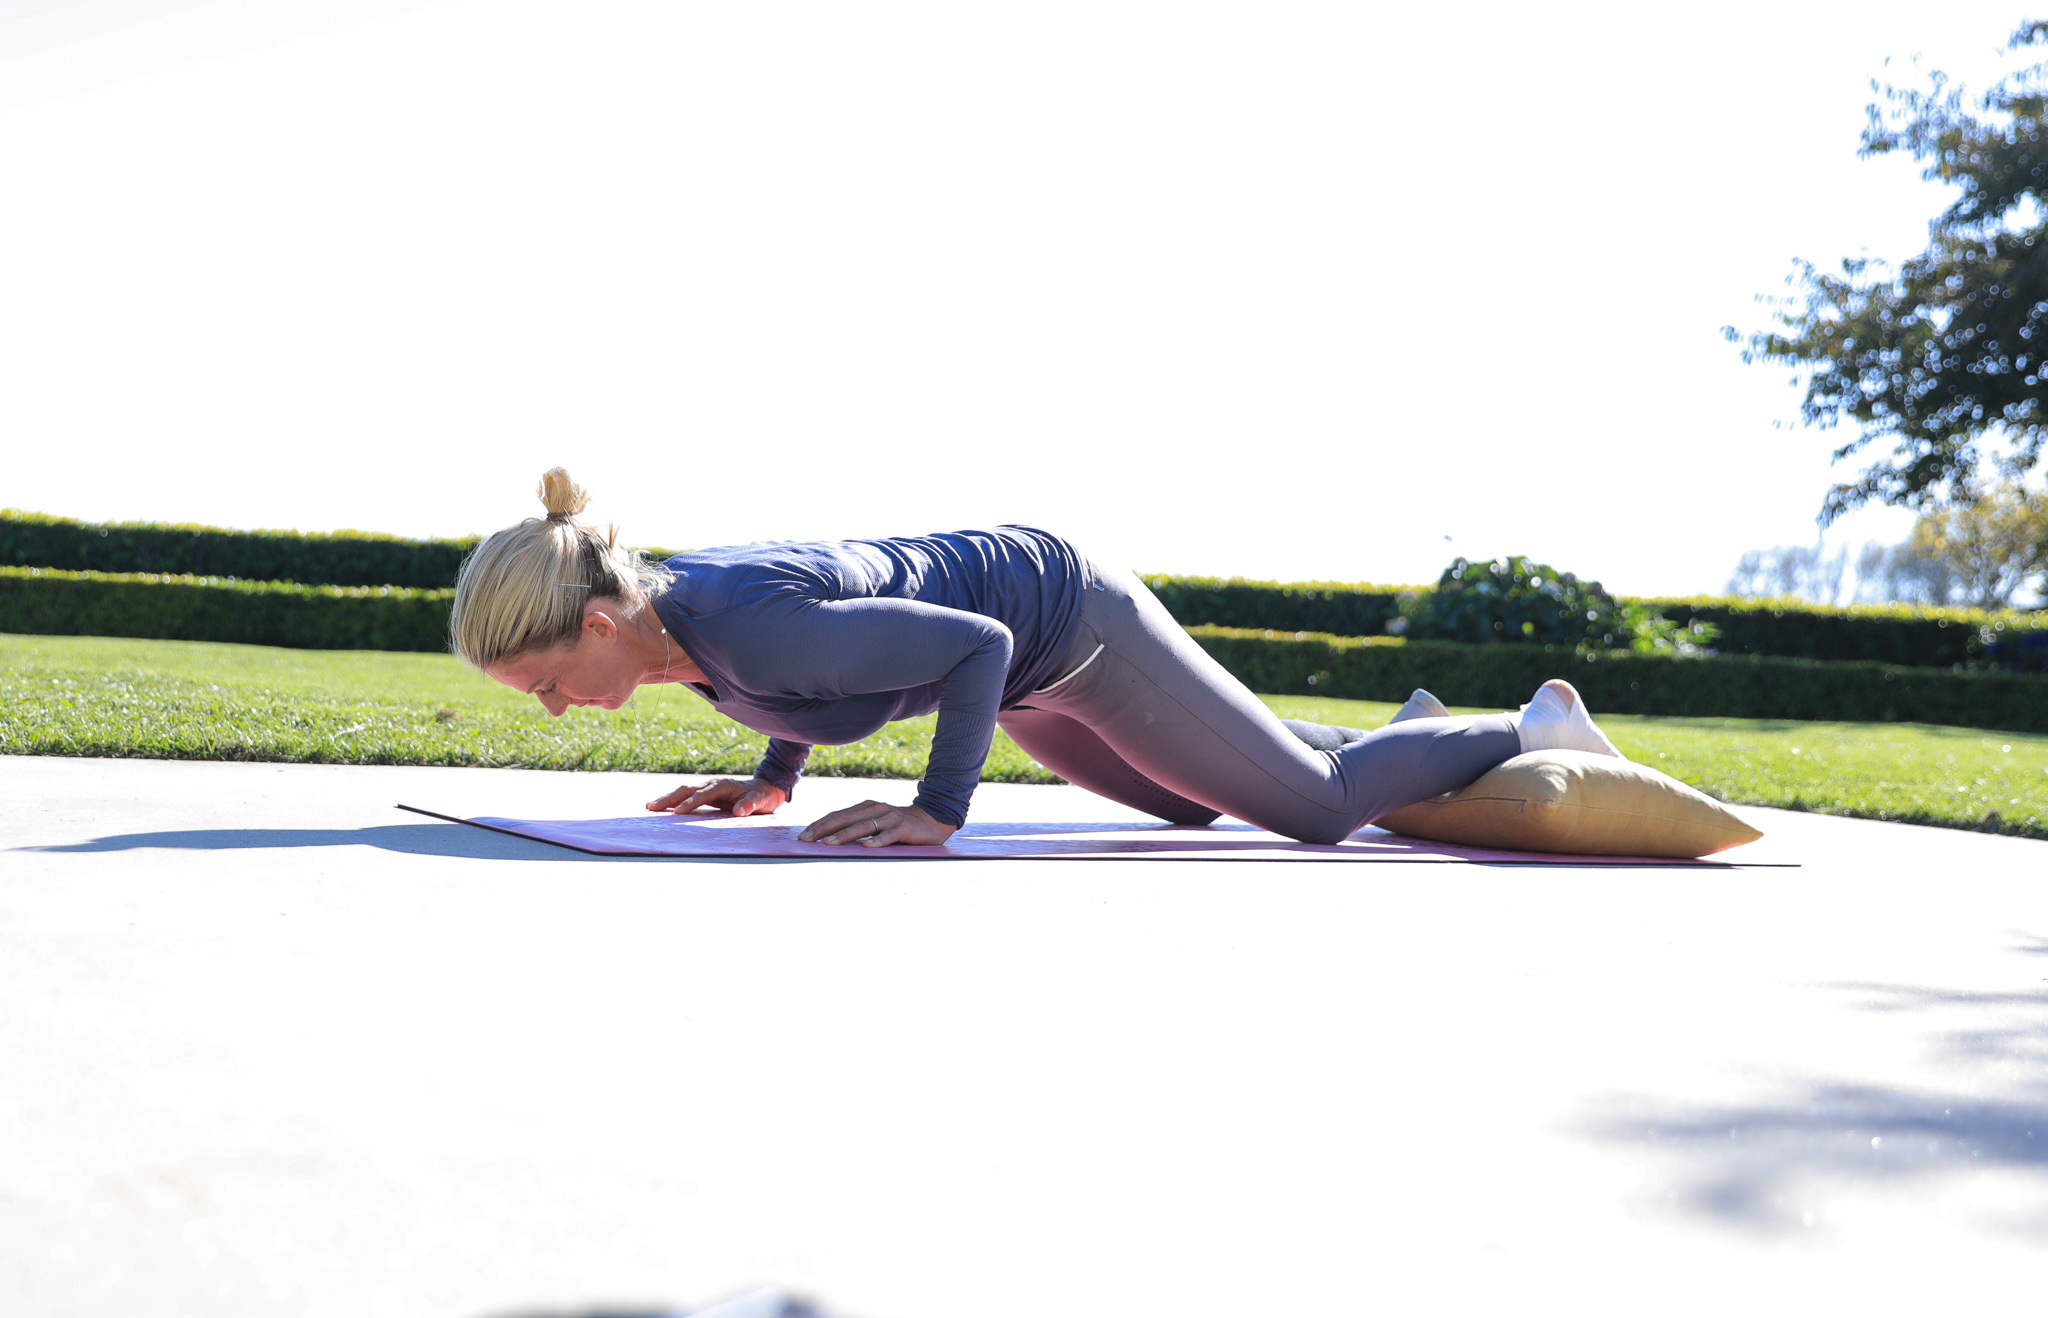
Heel kicks
Time to engage those glutes! Set yourself up on all fours and imagine that glass of water again on your back. Now lift your heel, and if you can, flex your foot (don’t panic if your ankle injury prevents this, do your best). You can then lower the knee back down and reset. For added intensity here, try pulsing three times at the top and then lowering it back down again. Do both sides 10 times.
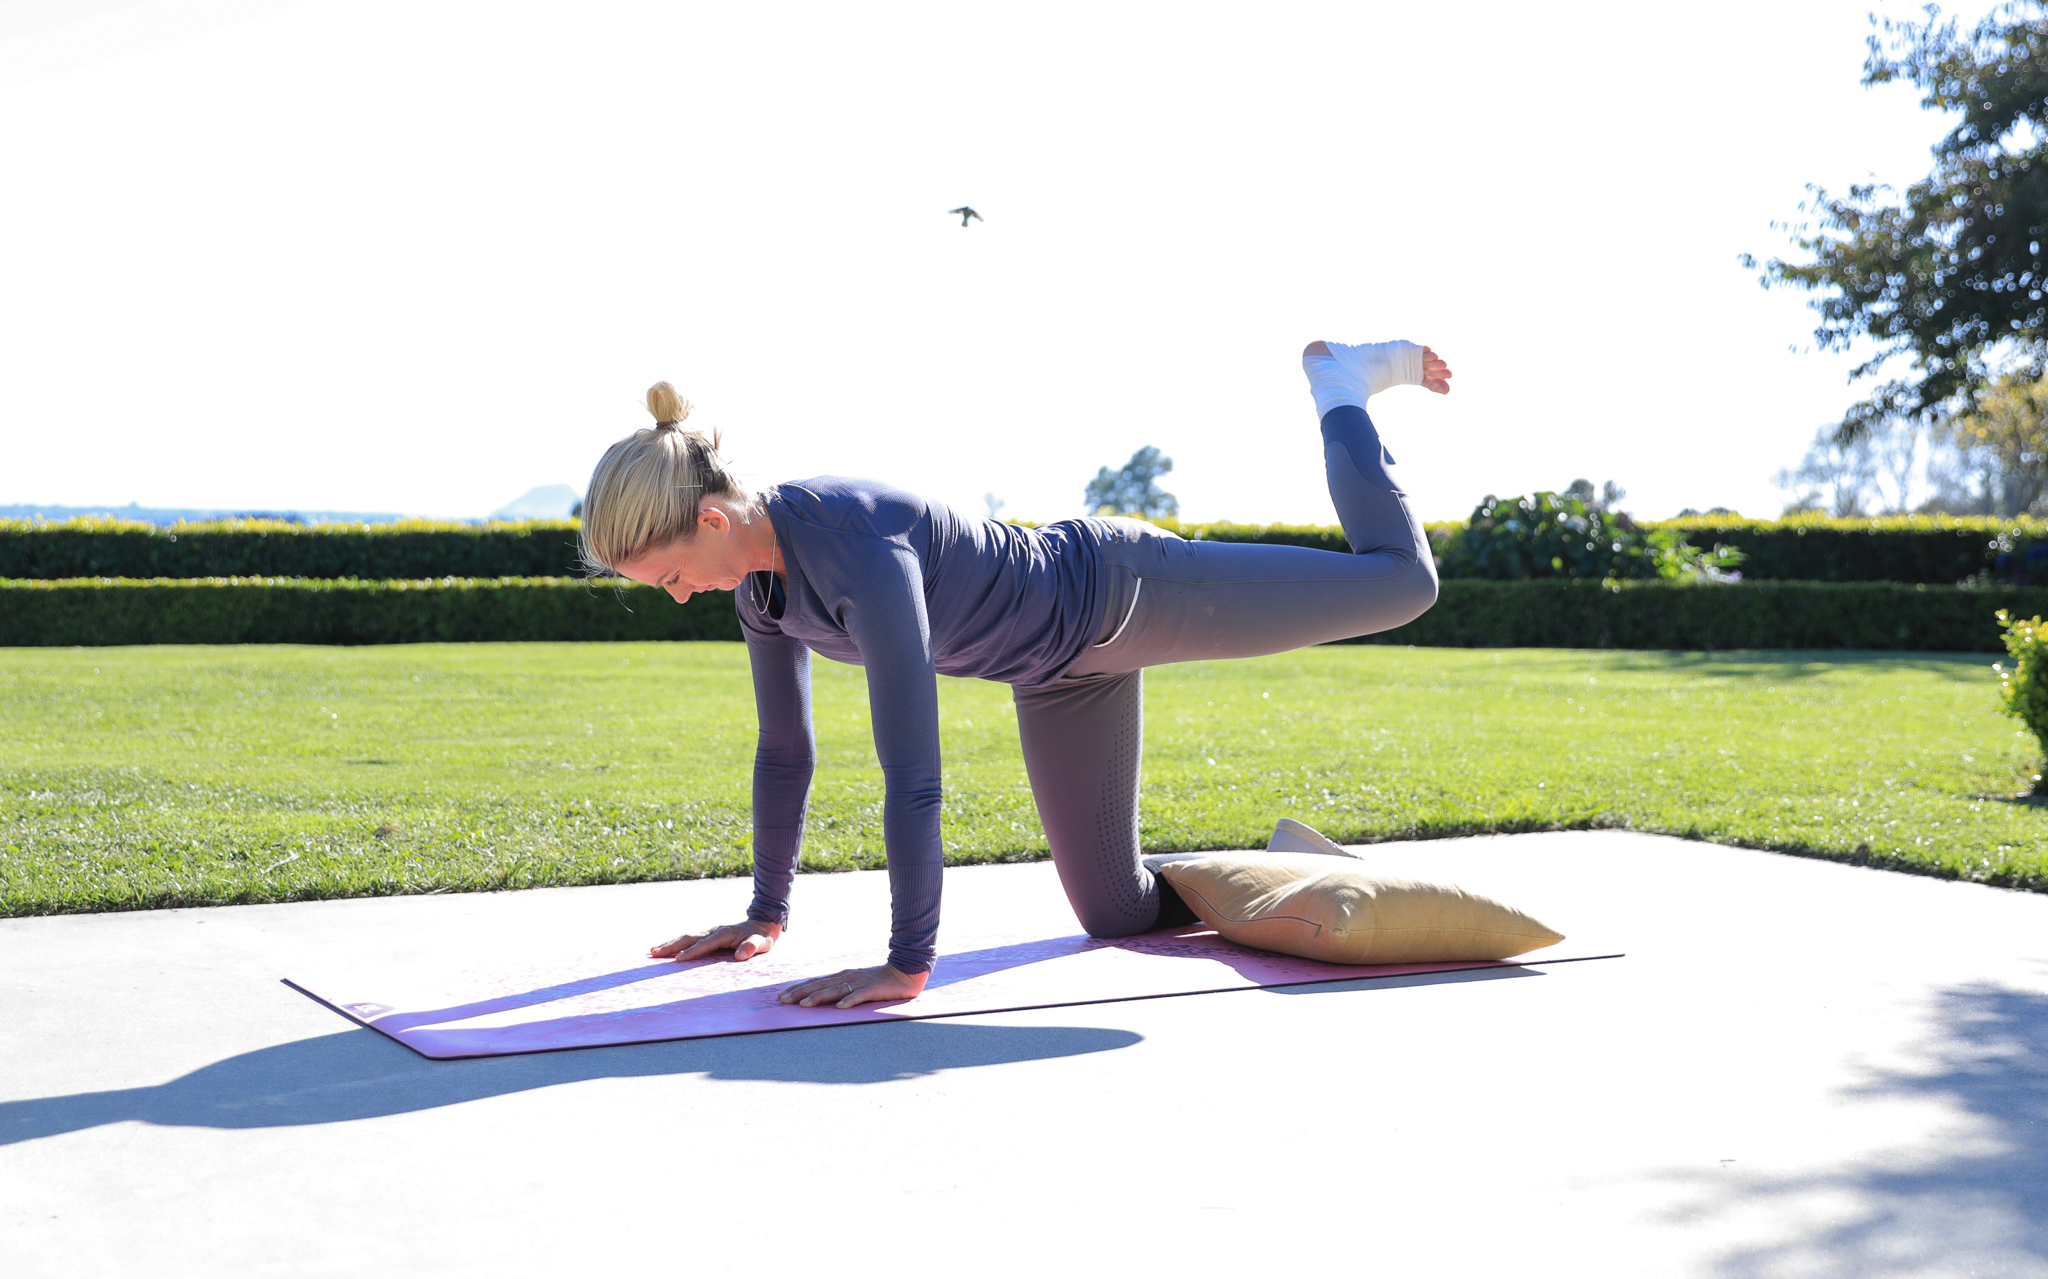
Side plank knee tucks
Rest your bottom ankle on the cushion if you need and set yourself up on your side. Ensure your elbow is underneath your shoulder and press weight through your forearm. Now lift your hip off the ground, draw your knee towards your elbow, and straighten it back out again. Aim for 10 controlled times.
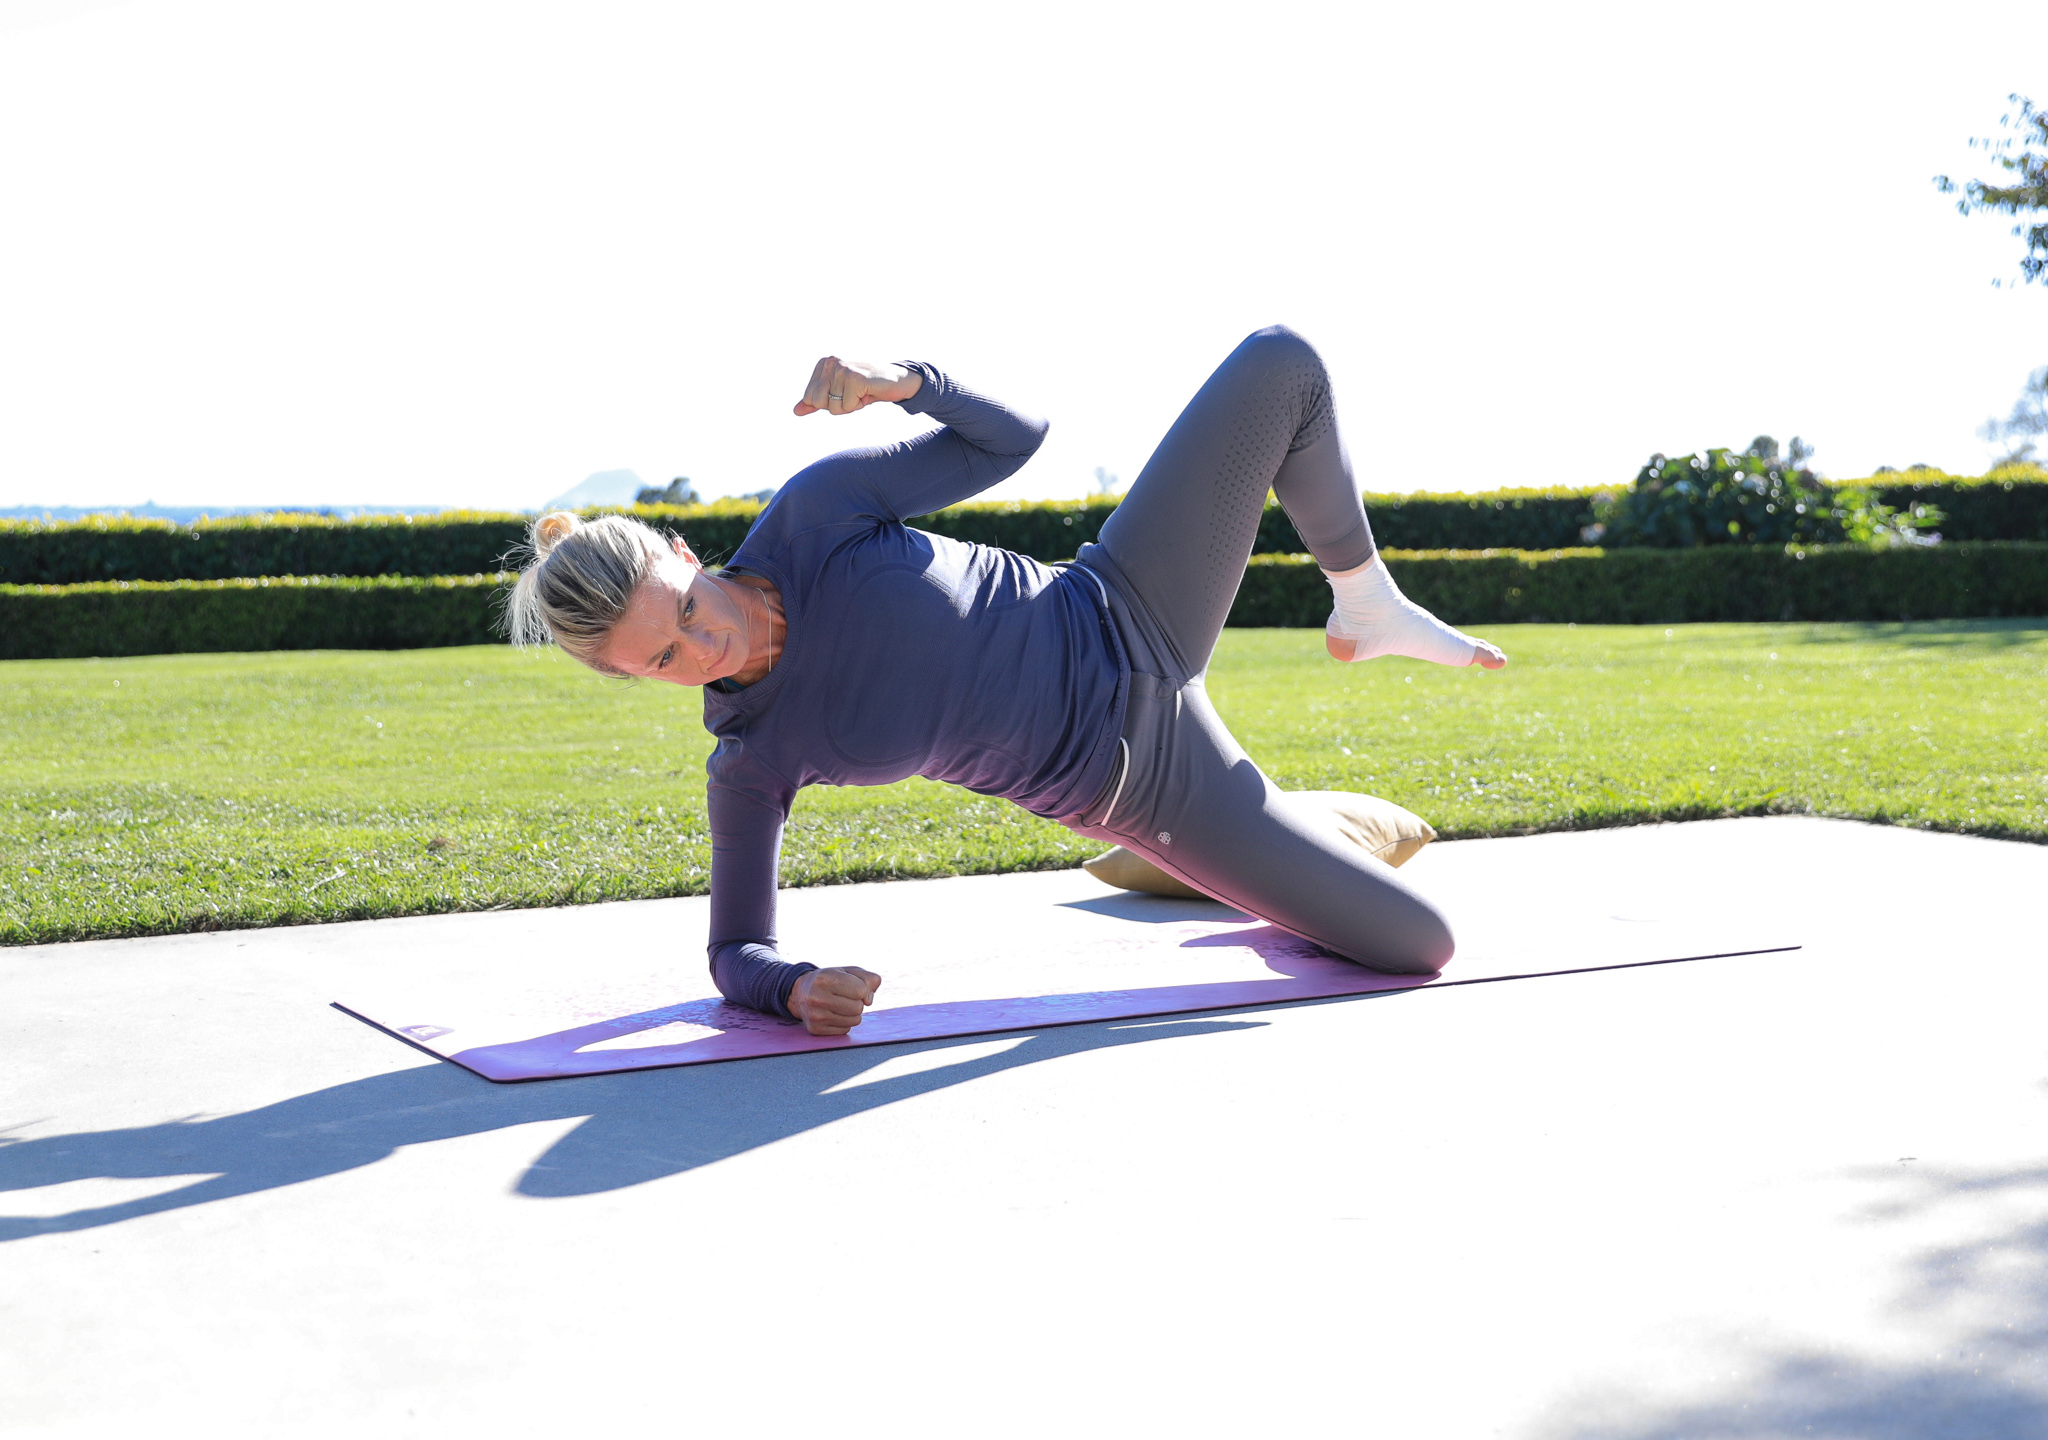
Shoulder taps
Back on all fours, set up your neutral spine position with your injured foot on the cushion. Now tap each shoulder with the opposite hand, aiming not to rock or twist through your spine. Super still is the name of the game. Go for 20 quick taps here.
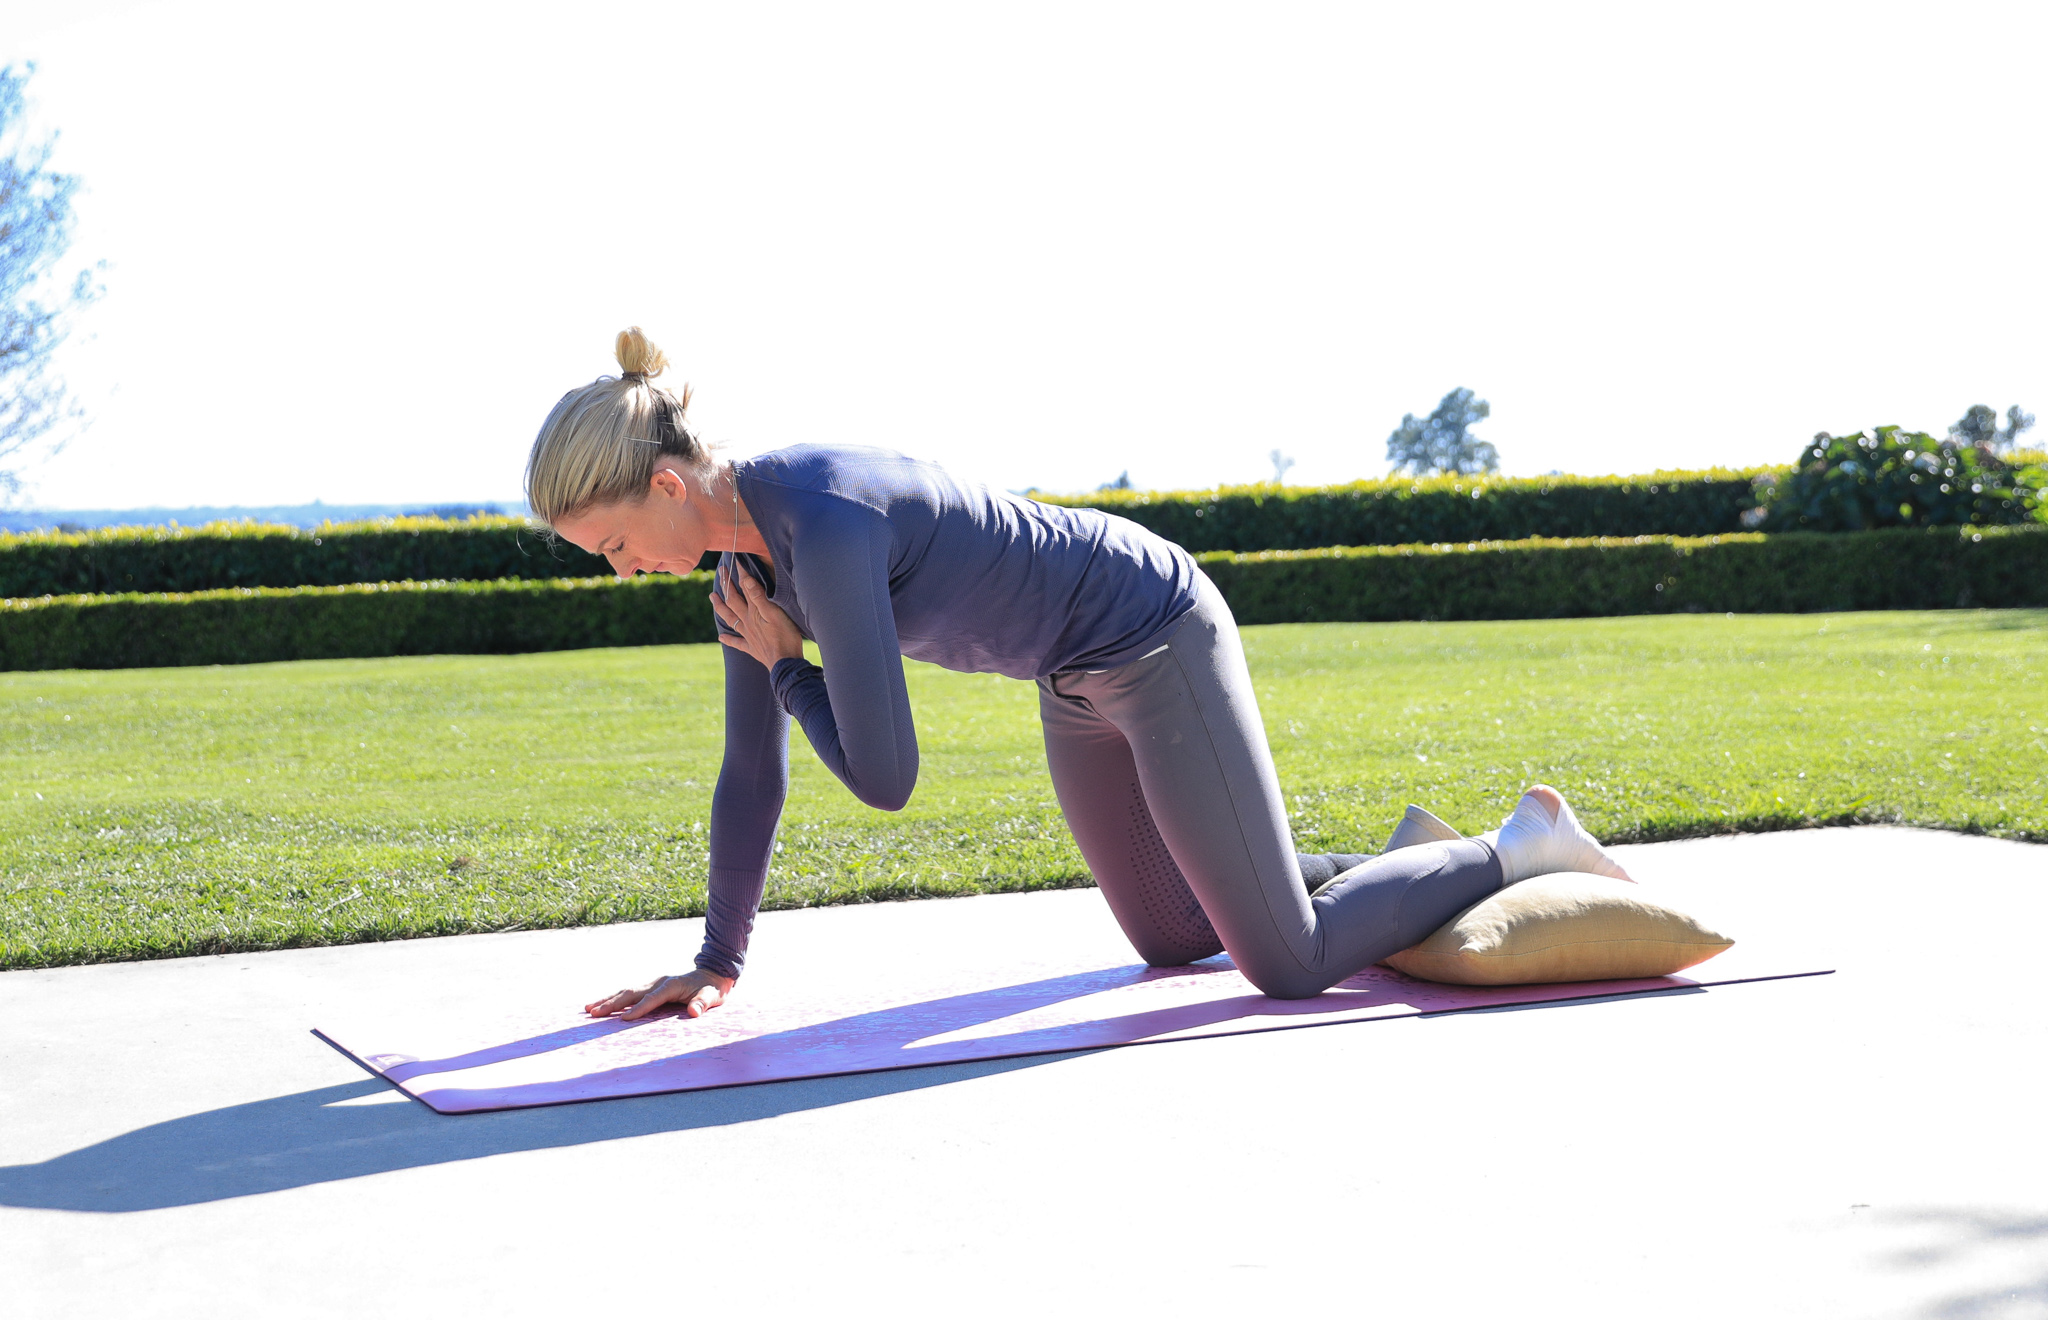
Cross-sling leg lowers
Here’s a great move to activate those abdominals and your mind too. Press your hands into your knees and your knees into your hands. Feel how this engages your core. Keep that pressure and engagement while you extend your opposite arm and leg while keeping the other pair pressing into one another. Repeat 10 times on each side.
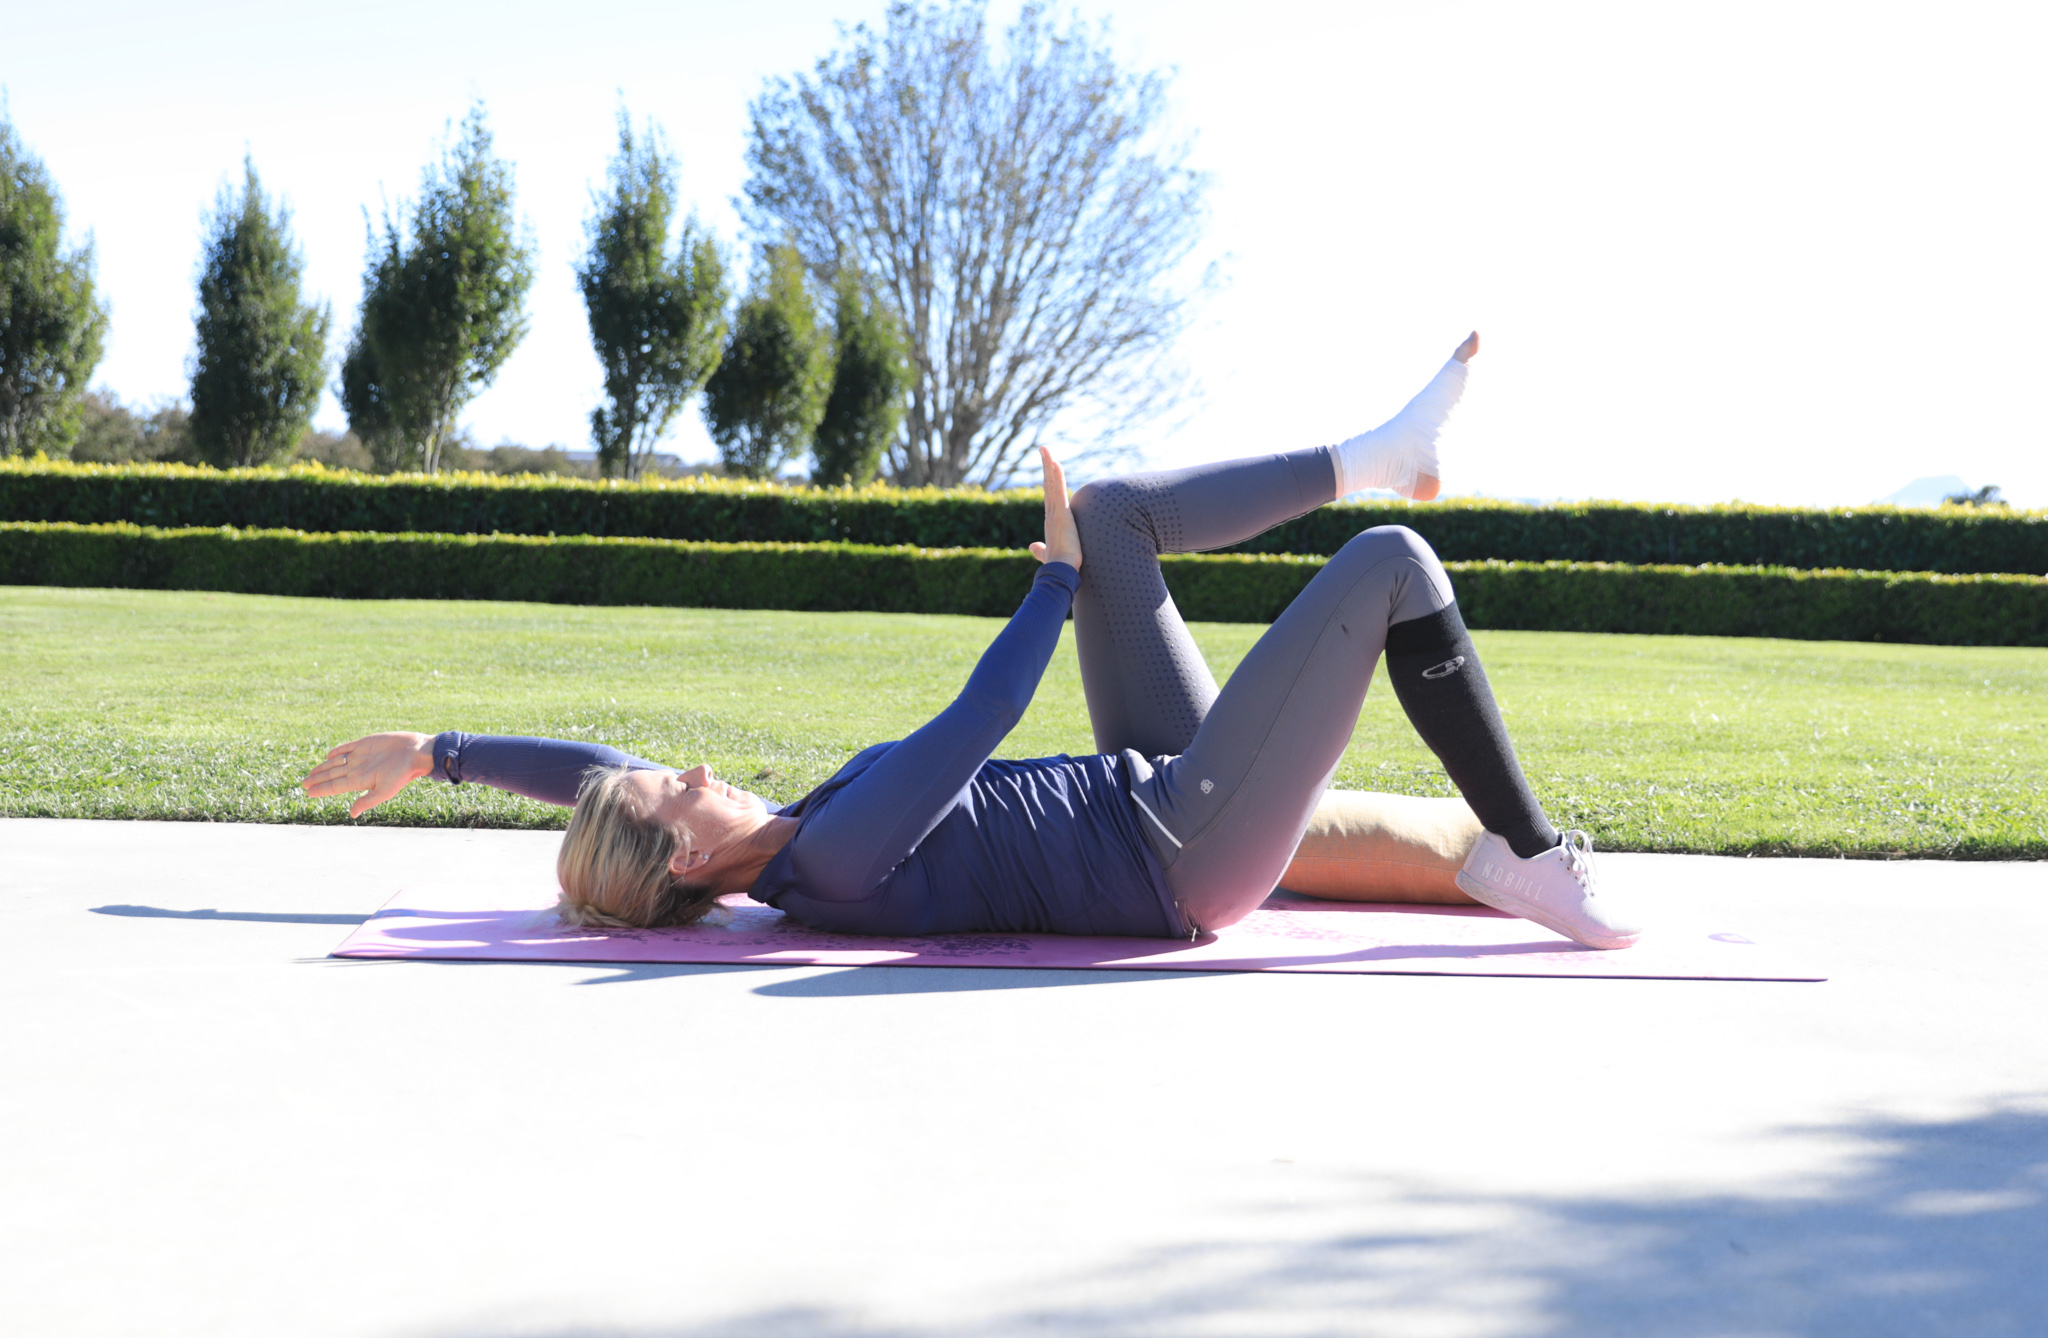
Side leg lifts
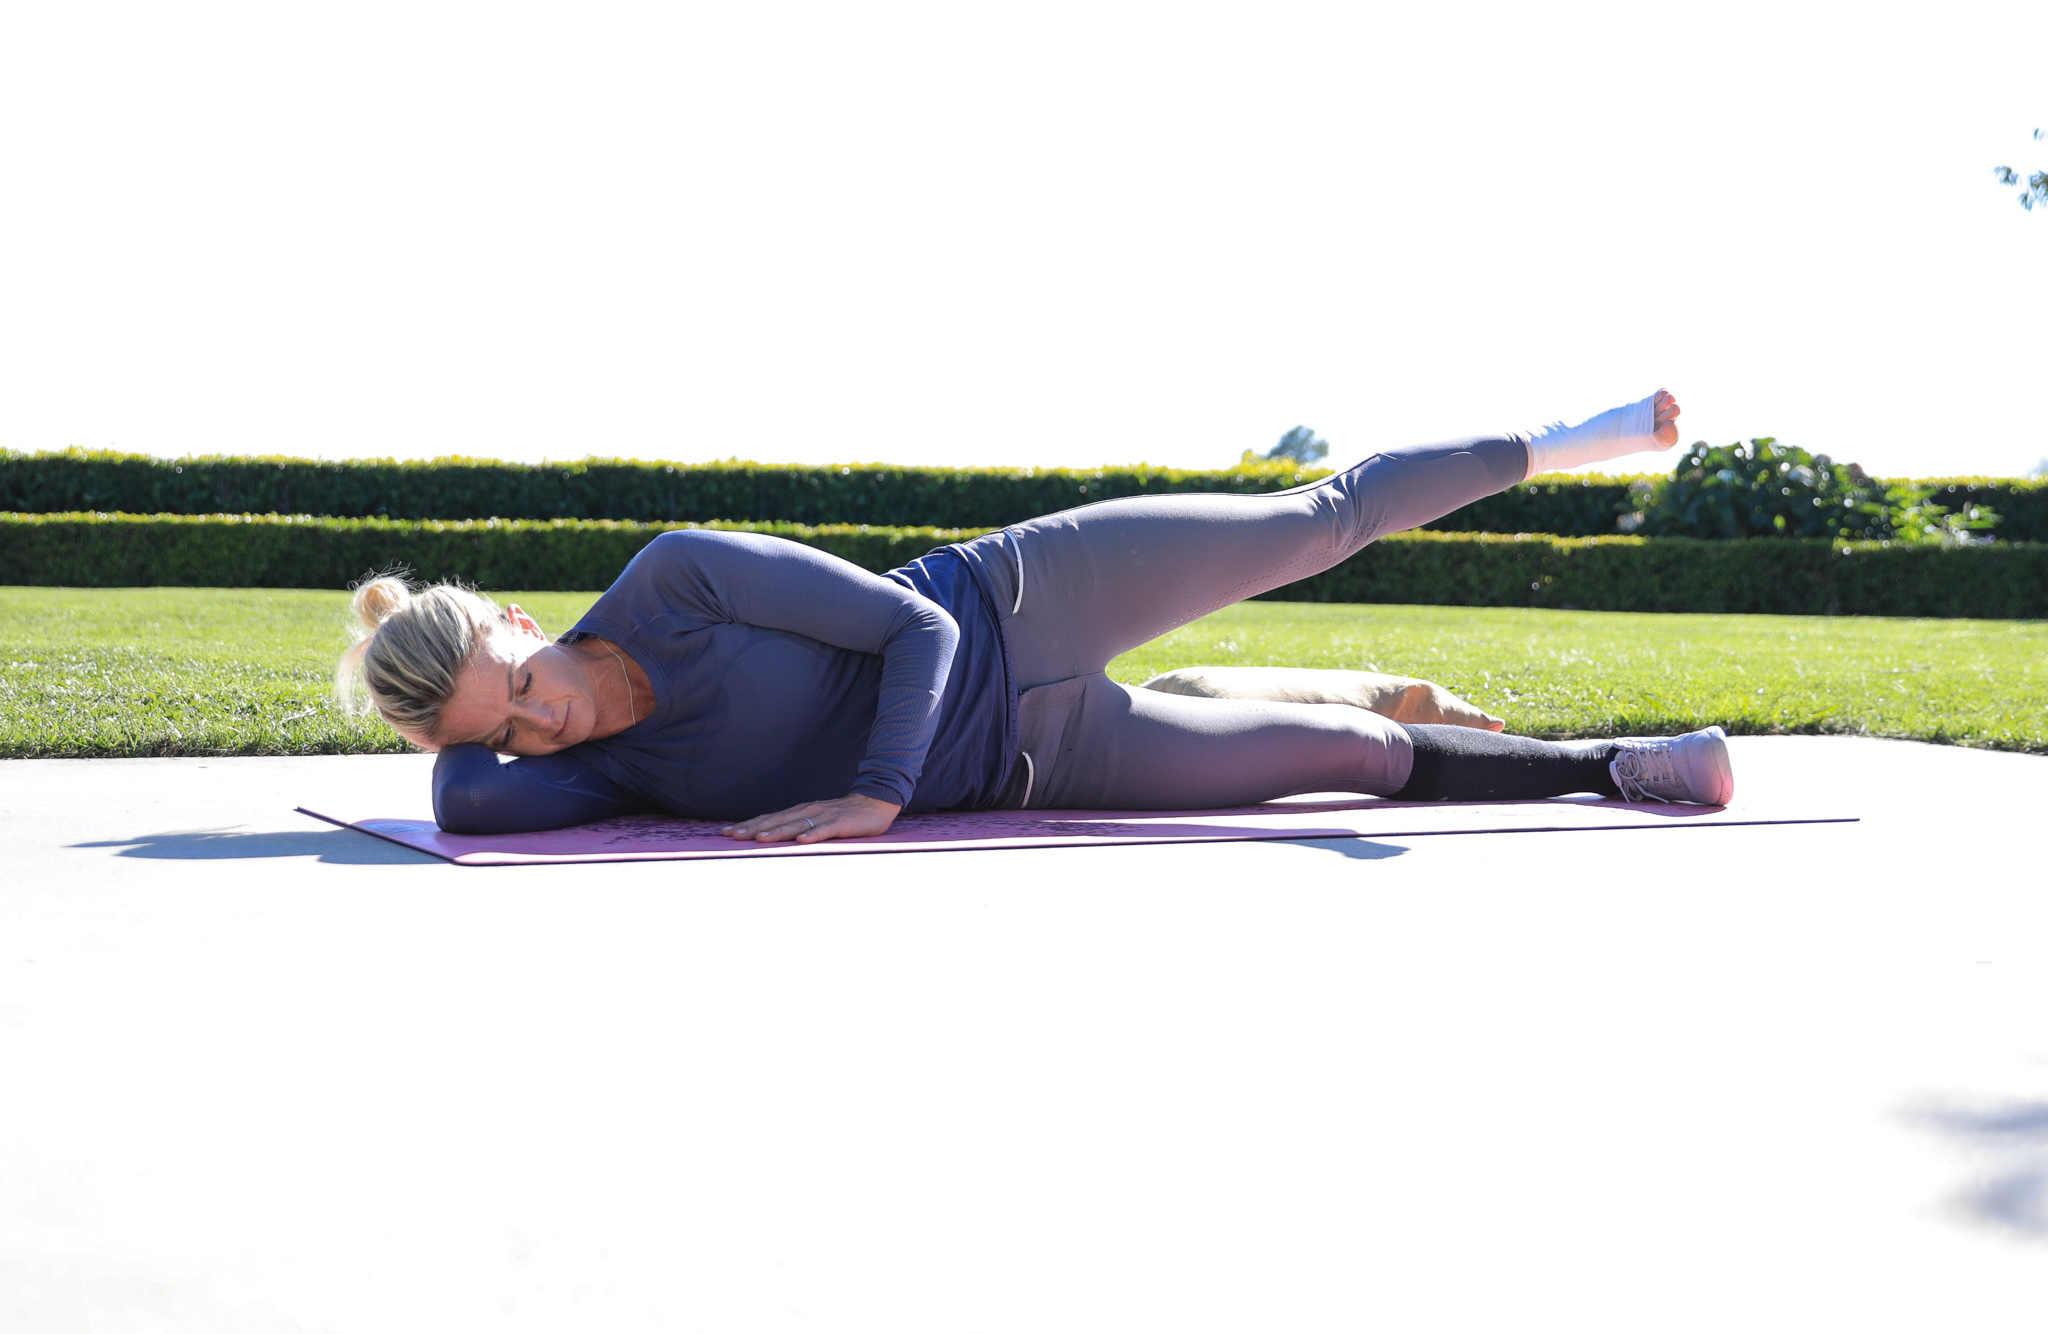
Another one is to engage those glutes and keep everything working. This time lay on your side and extend both legs out straight. Engage your neutral spine and glutes, and now lift your top leg up and down in a smooth and controlled manner. Repeat 10 times on each side.
So there you have it; staying riding fit with an injured ankle can be done. No need to stop your routine. Instead, stay active and keep the rest of your body moving as much as you can.
Remember, listening to your body and stopping if you experience any pain or discomfort is important.
And always make sure you’re following your doctor or physical therapist’s instructions.
Here’s a full video demonstration of each exercise to help you on your journey.
Good luck with your recovery and I hope this was helpful.x
While this article was about staying riding fit with an injured ankle, our DRT system is built upon four elements. Each element playing a crucial role in helping you develop as a rider. Take a look at our system and download the free guide to get you started on your journey today.
Want to get started on more elements of your strength today? Check out these articles here
The Underestimated Power Of Strength Training For Riders
Strength Training For Dressage
Glute Strengthening Exercises For Dressage Riders
7 Exercises To Improve Lower Body Strength And Balance
Dressage Rider Leg Strength – 6 Exercises To Help You Improve
7 Simple Ways To Improve Your Core Strength For Dressage Riders
Want some help with your dressage training?
Check out our sister site – DressageHorseTraining.com
Improve your preliminary marks next competition
How to improve your centre lines and halts
Dressage Rider Training Program
Join other participants on our 12-week 'step-by-step' online rider
training program. Improve the 5 components of your riding.
Only available 3x per year.
see full details & register your interest

